Welcome to visit Foshan Belt&Road Building Material Co., Ltd.
- Product Name
- Product Keyword
- Product Model
- Product Summary
- Product Description
- Multi Field Search

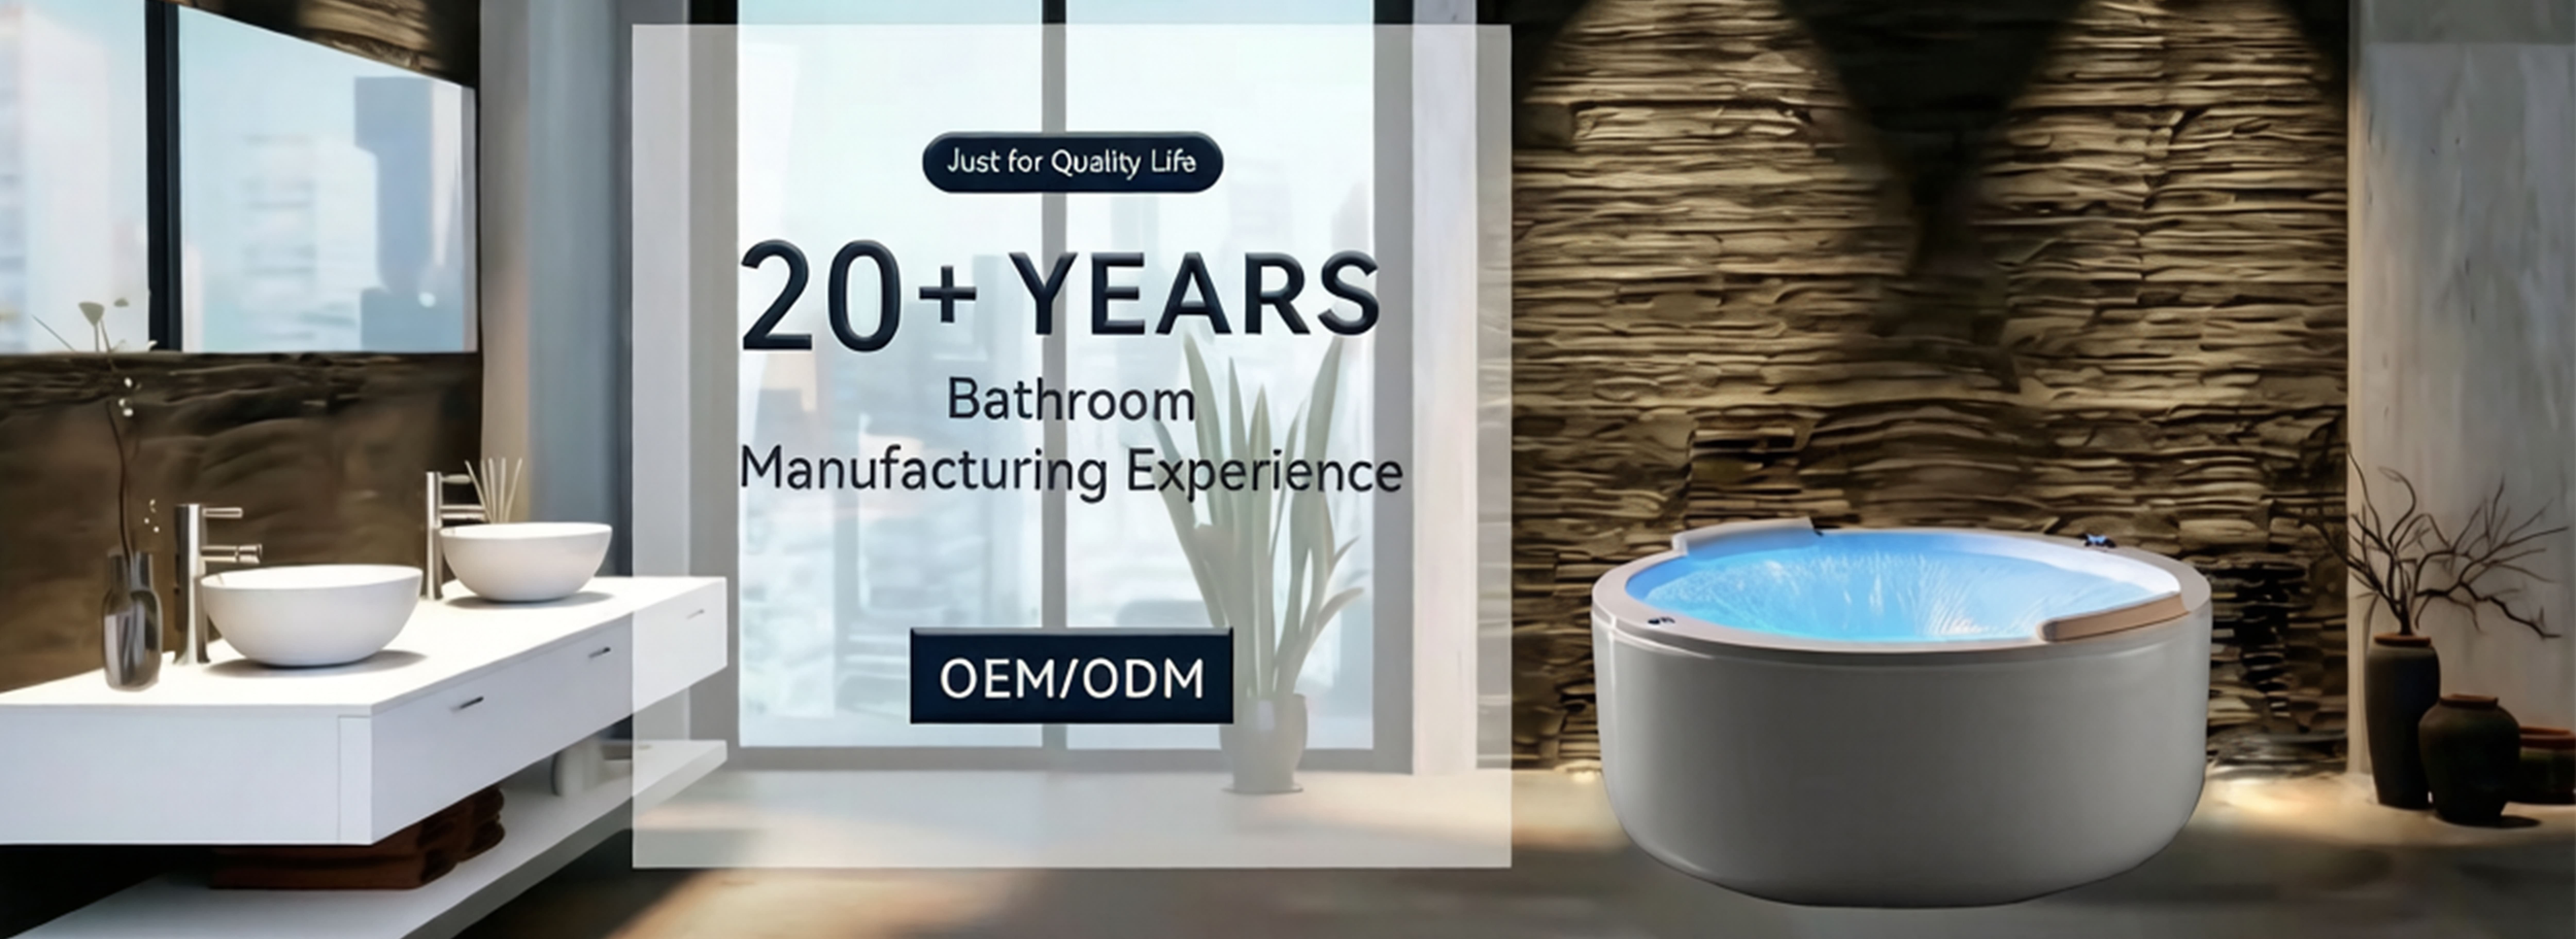


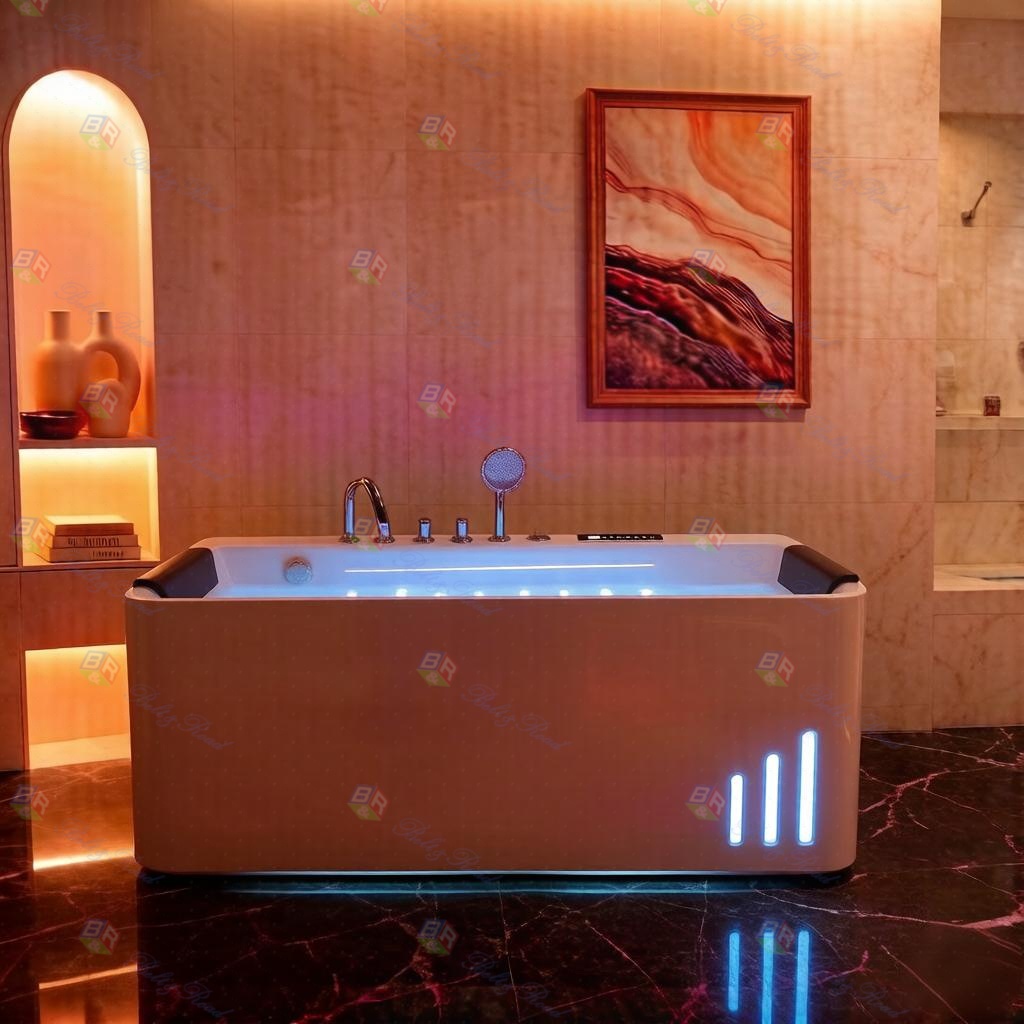
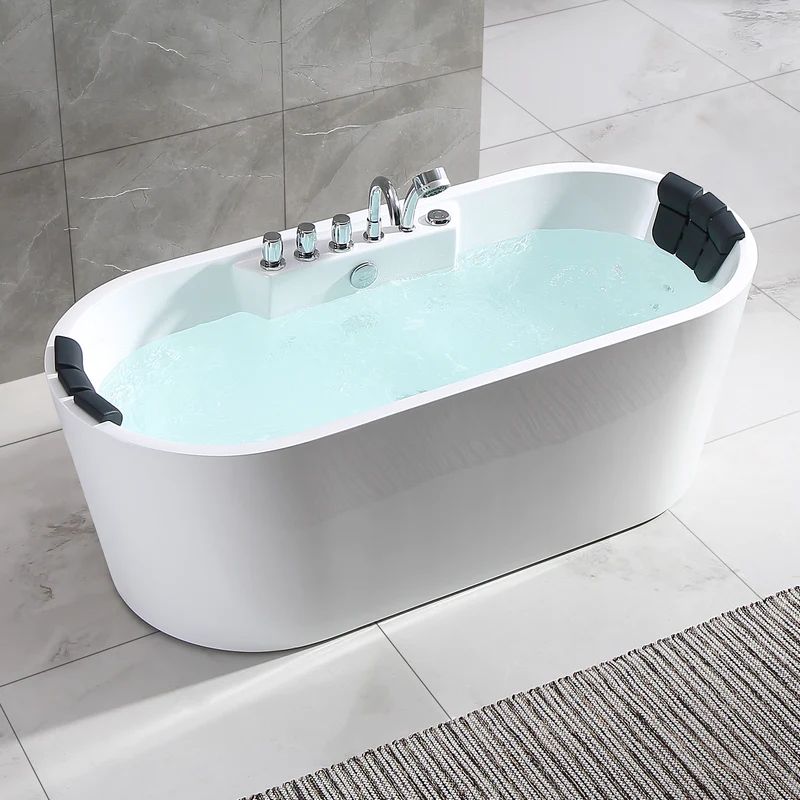
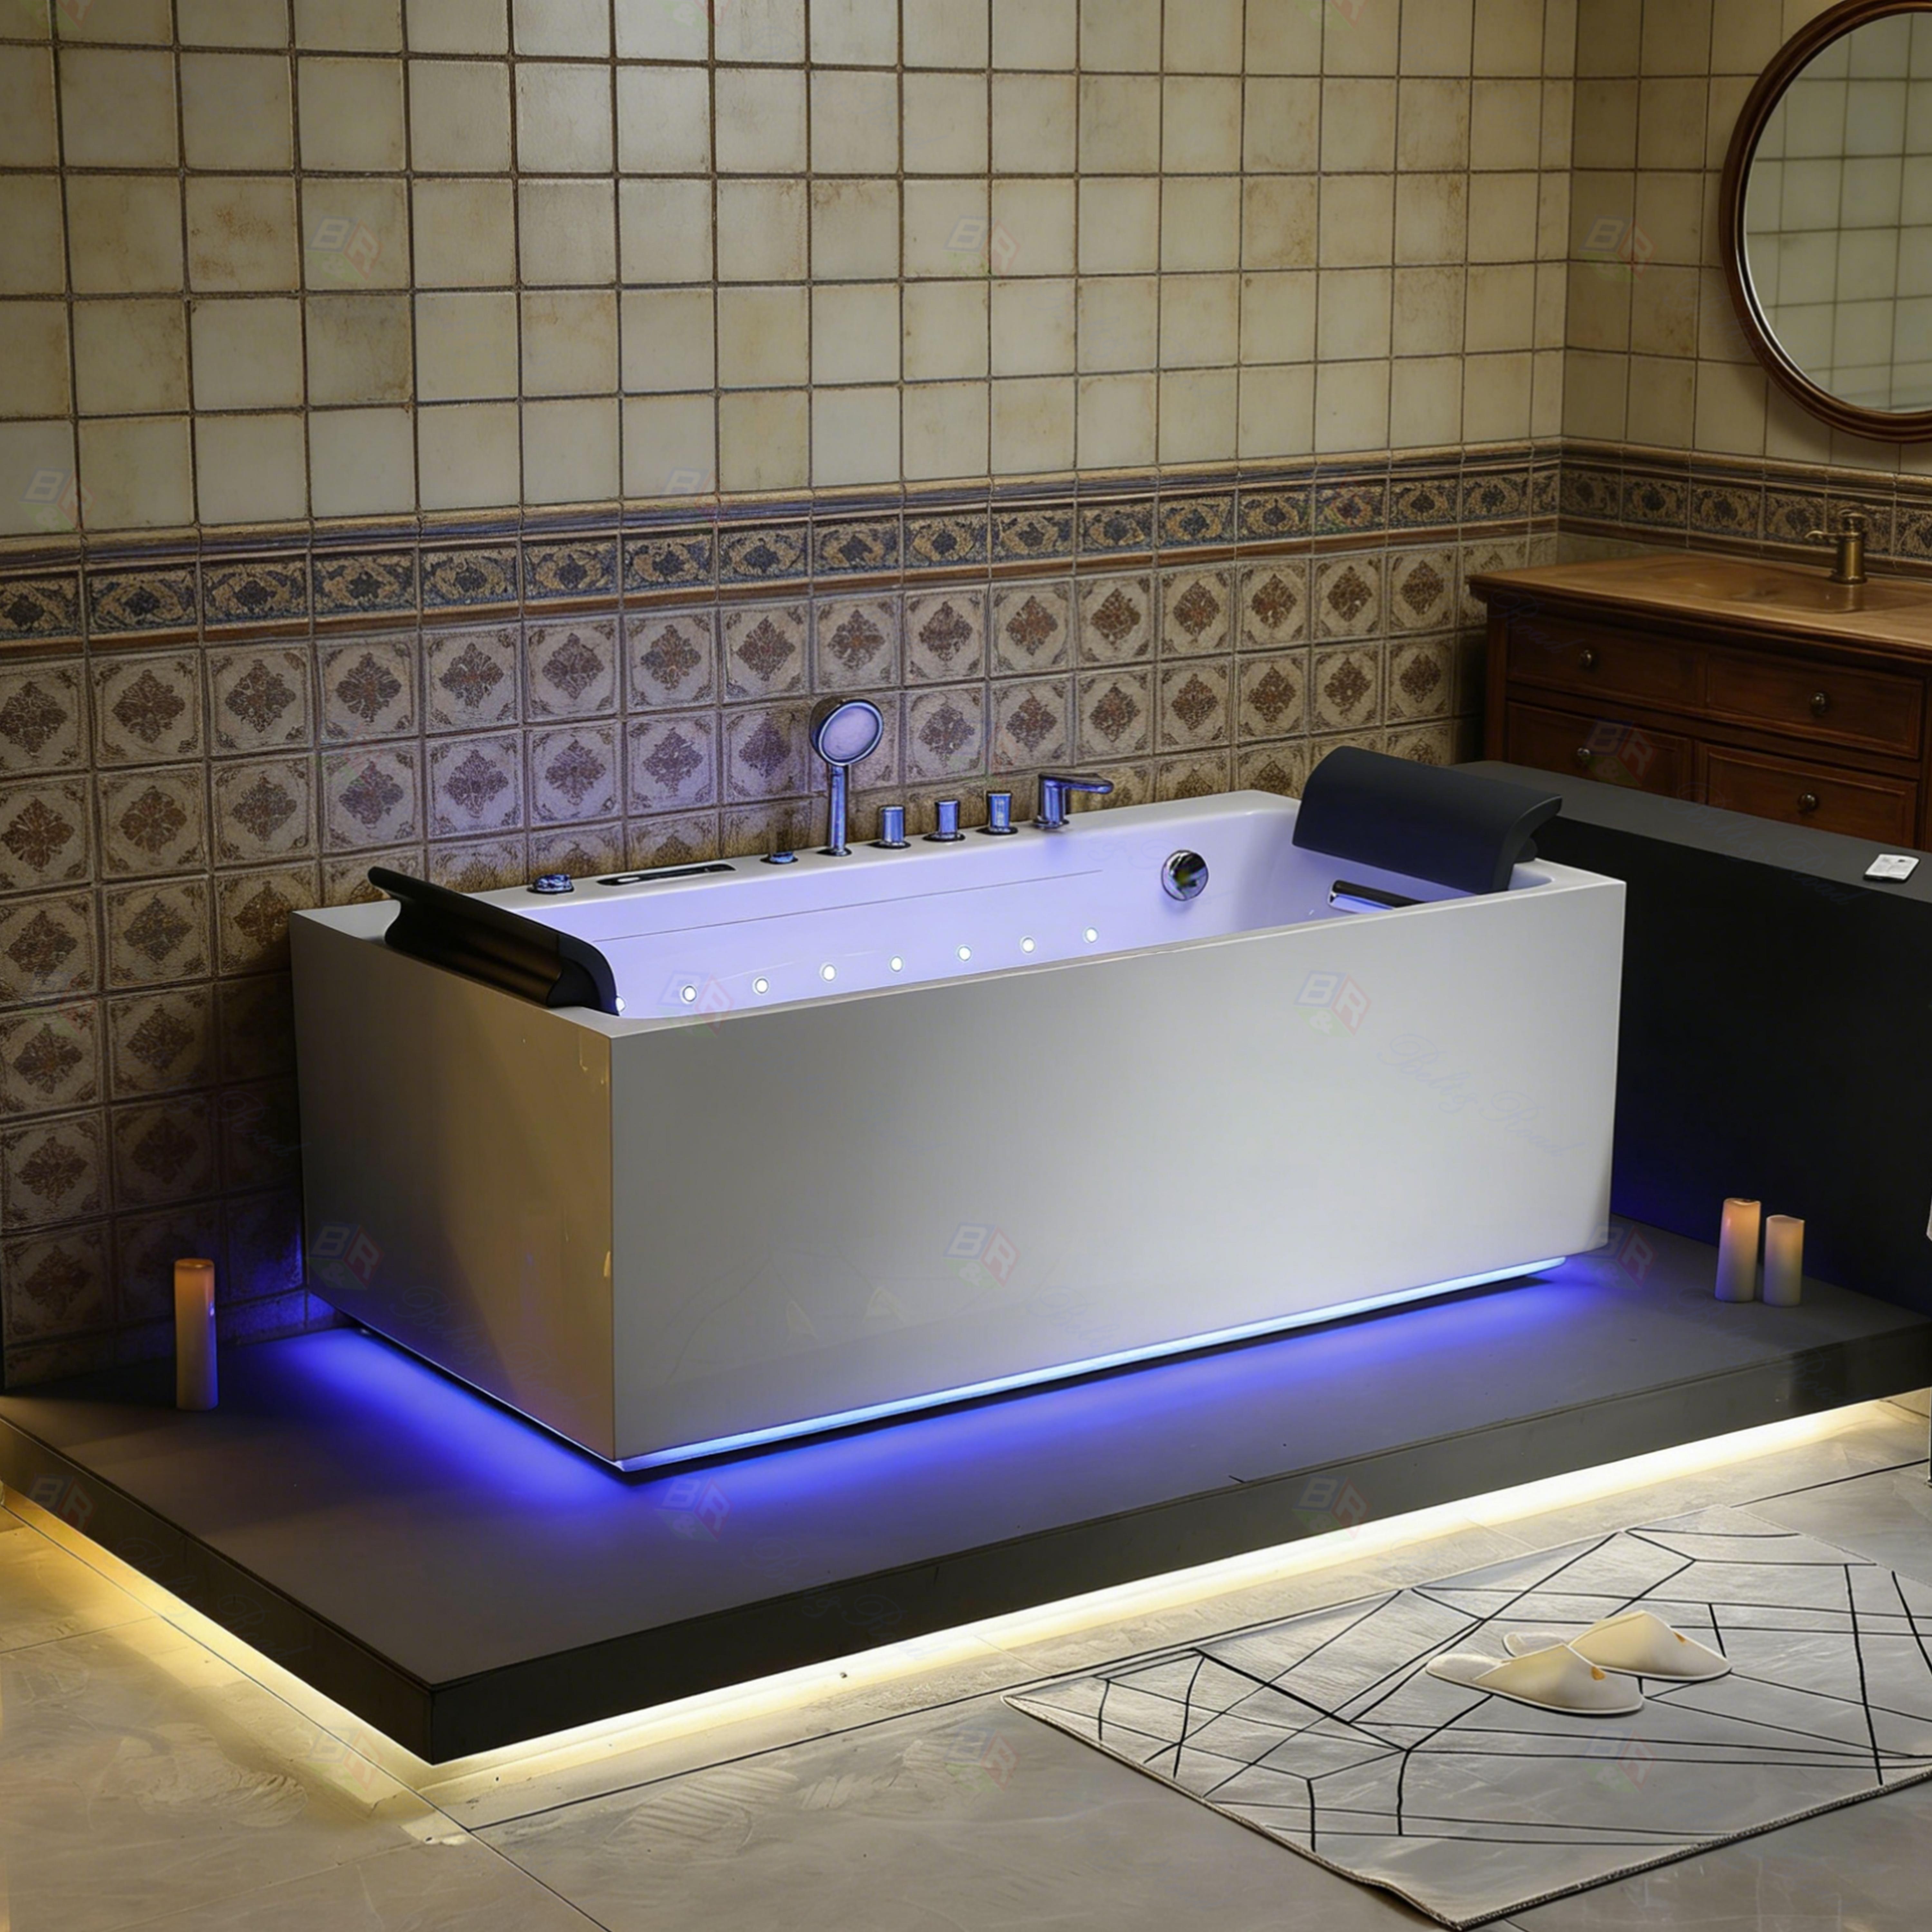

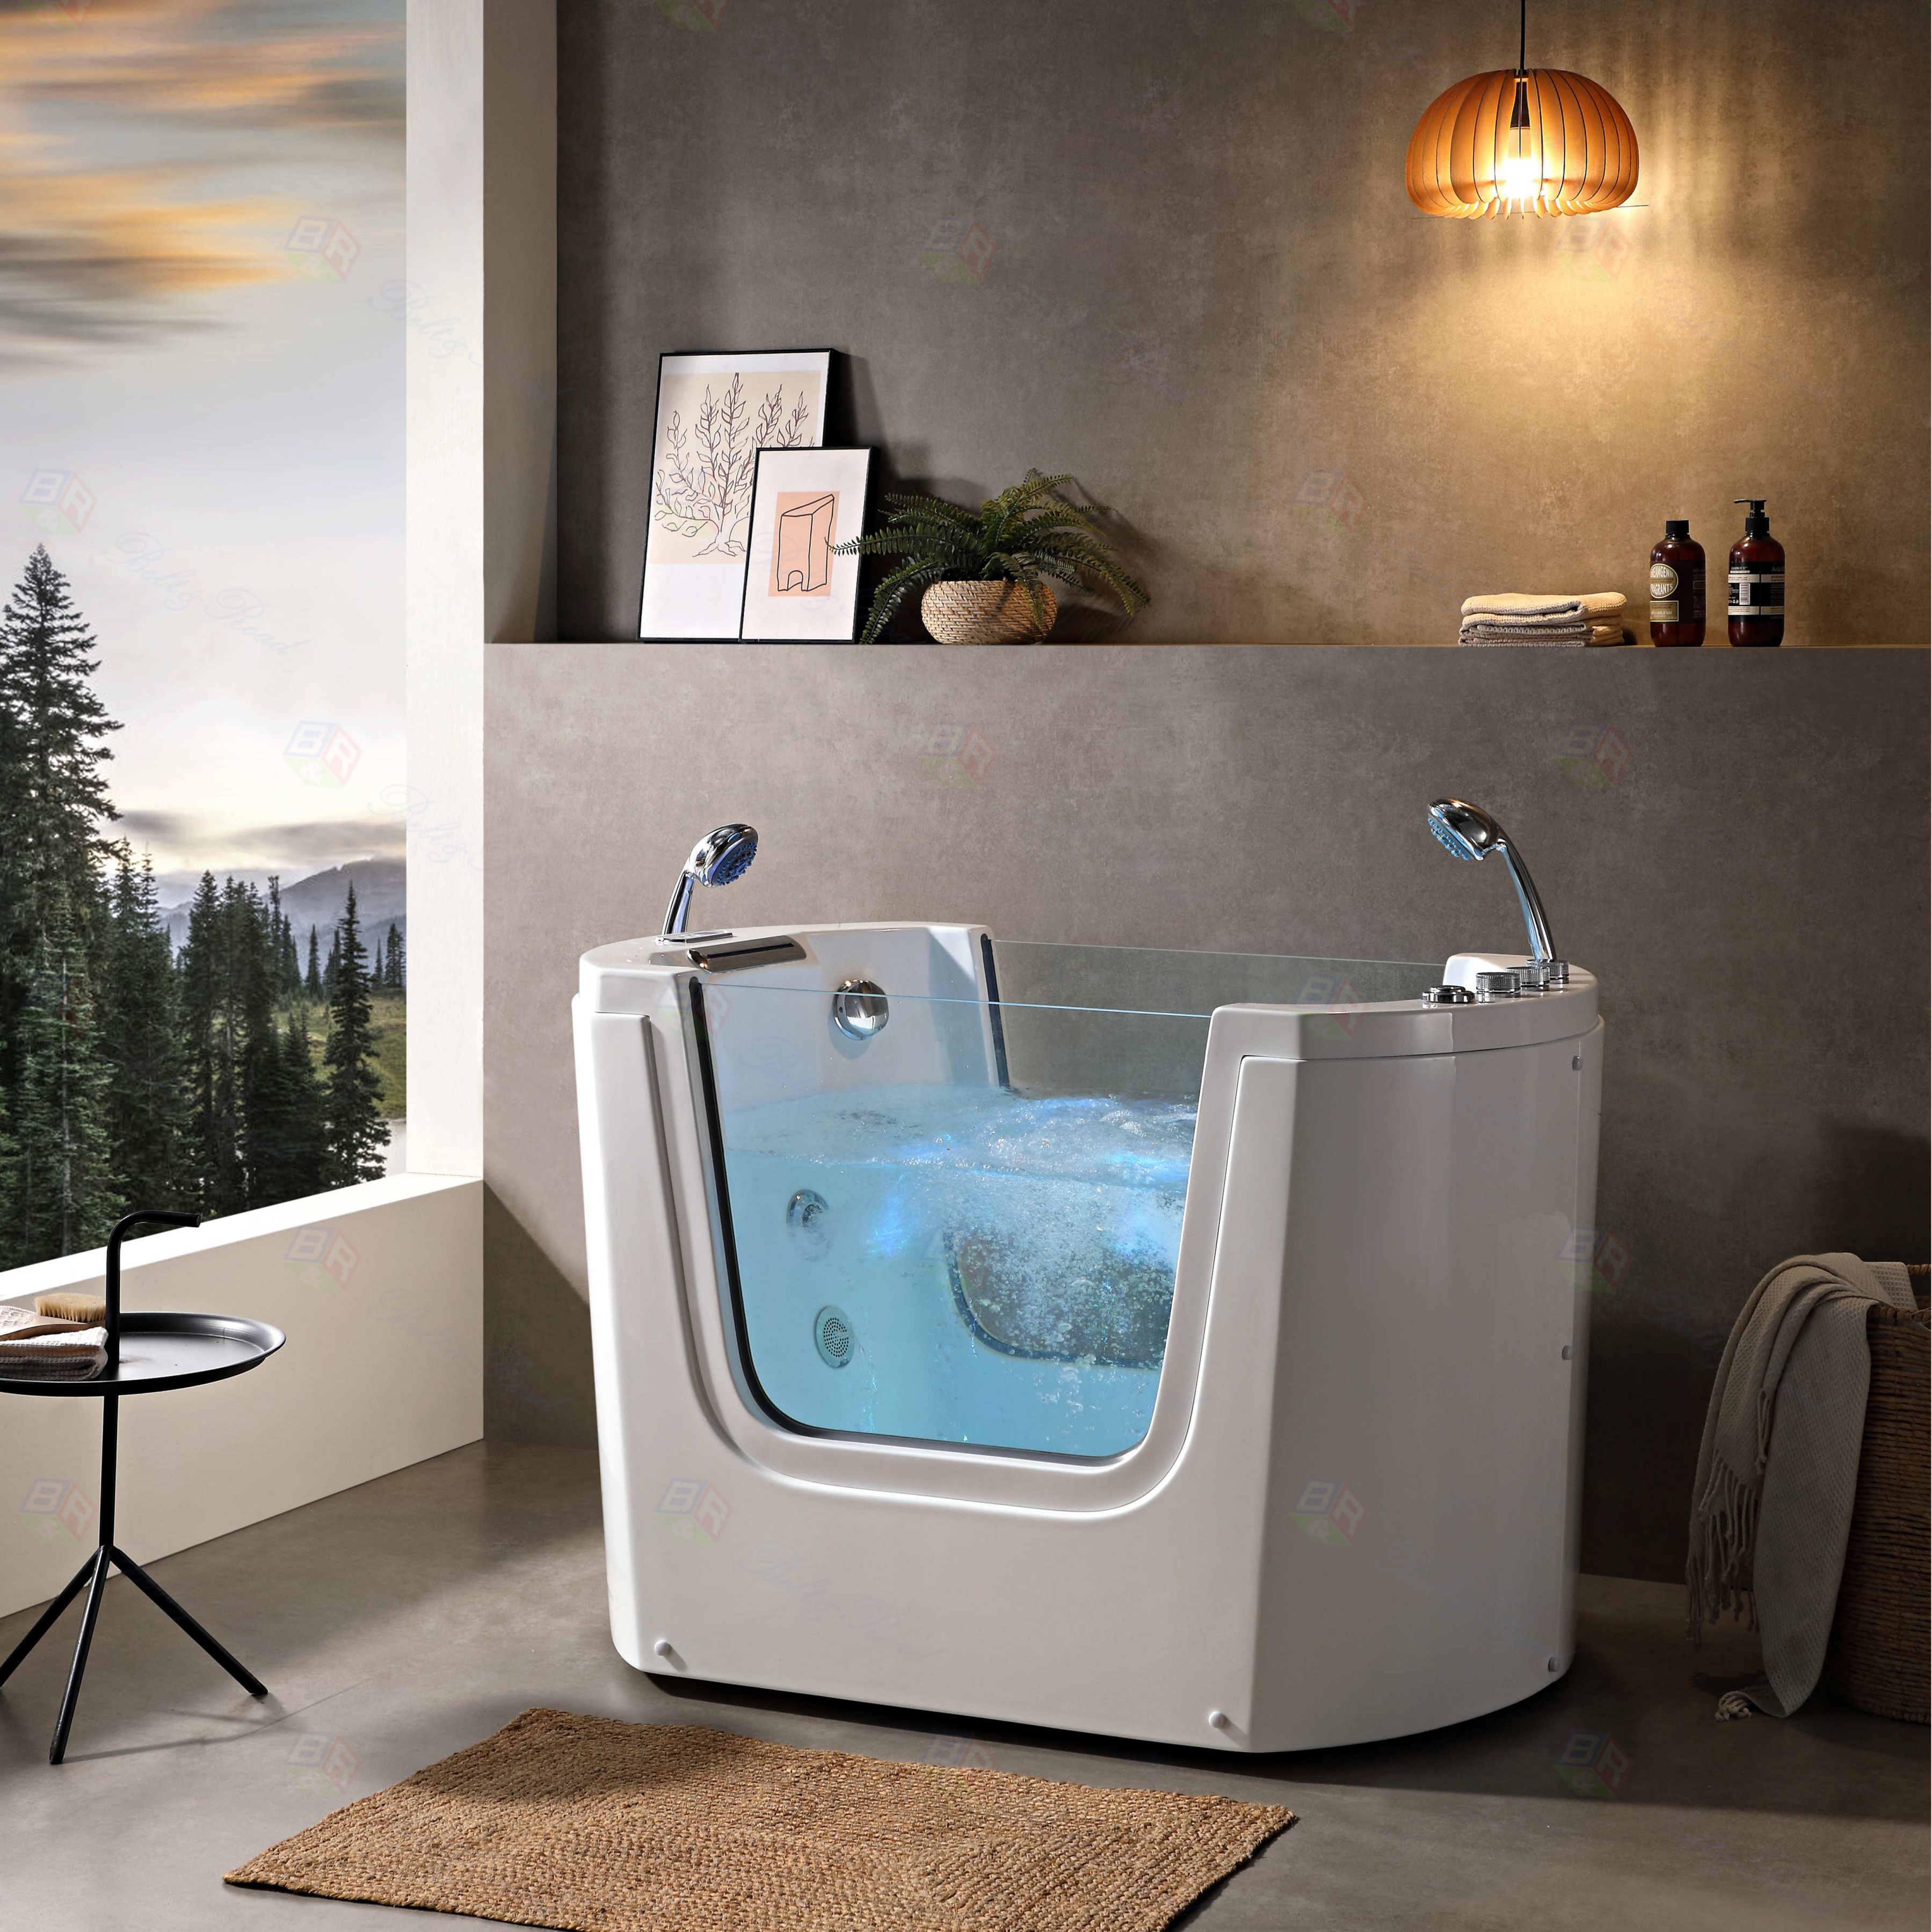

Imagine transforming your bathroom into a personal spa oasis with a luxurious whirlpool bathtub. The thought of professional installation costs might be daunting, but with careful planning and the right guidance, installing a whirlpool bathtub yourself is a achievable project for dedicated DIY homeowners. This comprehensive guide will walk you through the essential steps, ensuring your new whirlpool tub is installed safely and efficiently, ready for years of relaxation.
.jpg)
Before you begin, the most crucial step is planning. Ensure your bathroom floor can support the significant weight of a filled whirlpool tub—often exceeding 1000 pounds. Check your existing plumbing and electrical systems. A whirlpool tub requires a dedicated electrical circuit protected by a Ground Fault Circuit Interrupter (GFCI) for ultimate safety. Always consult local building codes and obtain necessary permits. Having the correct tools and a helper is non-negotiable for maneuvering the heavy tub.
.jpg)
The first physical step is preparing the installation area. You must carefully measure your new whirlpool bathtub and mark its precise footprint. This includes accounting for the access panel location for future motor maintenance. Next, address the plumbing rough-ins. This involves setting the drain assembly and water supply lines (hot and cold) according to your tub's specifications and local code. Accuracy here prevents major headaches later. Simultaneously, a licensed electrician should run the dedicated electrical line to the tub's pump location, ensuring all connections meet safety standards.
.JPG)
With the rough-ins complete, it's time for the moment of truth: setting the tub. With your helper, carefully lower the whirlpool bathtub into its designated spot. Use a level to ensure it is perfectly even in all directions; an unlevel tub can affect water circulation and pump performance. Once positioned, connect the drain plumbing securely to prevent leaks. Following the manufacturer's wiring diagram, connect the pump motor to the pre-installed electrical supply. Remember to turn off the power at the breaker before making any electrical connections!
After the core connections are made, it's time to secure the tub. Many models require securing the tub flange to the surrounding wall studs. Then, meticulously seal all gaps between the tub and the wall with a high-quality, waterproof silicone caulk. This prevents water damage—a critical step in any whirlpool bathtub installation. Before finishing the walls or decking, conduct a thorough test. Fill the tub with water (without using the pump first) to check for drain and supply leaks. Then, test the whirlpool pump and jets to ensure proper, powerful operation.
For DIY enthusiasts seeking a truly custom fit or unique design, working with a professional manufacturer can be invaluable. Companies specializing in bathroom fixtures can provide tailored solutions, from specific dimensions to advanced jet configurations. One such reputable partner is Foshan Belt&Road Building Material Co., Ltd., a professional manufacturer known for quality bathroom products and custom solutions. For inquiries regarding custom whirlpool tubs or technical specifications, you can contact them at TEL: +086-13924556658 or via Email: info@beltroadasia.com. Partnering with experts can elevate your project from standard to exceptional.
Finally, finish the surrounding walls or decking according to your design. Allow all caulking to cure fully before using your new spa. Regular maintenance, like flushing the jet system with a cleaner, will keep your whirlpool tub performing perfectly. By following this guide, you've not only added significant value to your home but also created a sanctuary for relaxation. Enjoy the serene, bubbling waters of your professionally installed, DIY whirlpool bathtub—you've earned it.