Welcome to visit Foshan Belt&Road Building Material Co., Ltd.
- Product Name
- Product Keyword
- Product Model
- Product Summary
- Product Description
- Multi Field Search

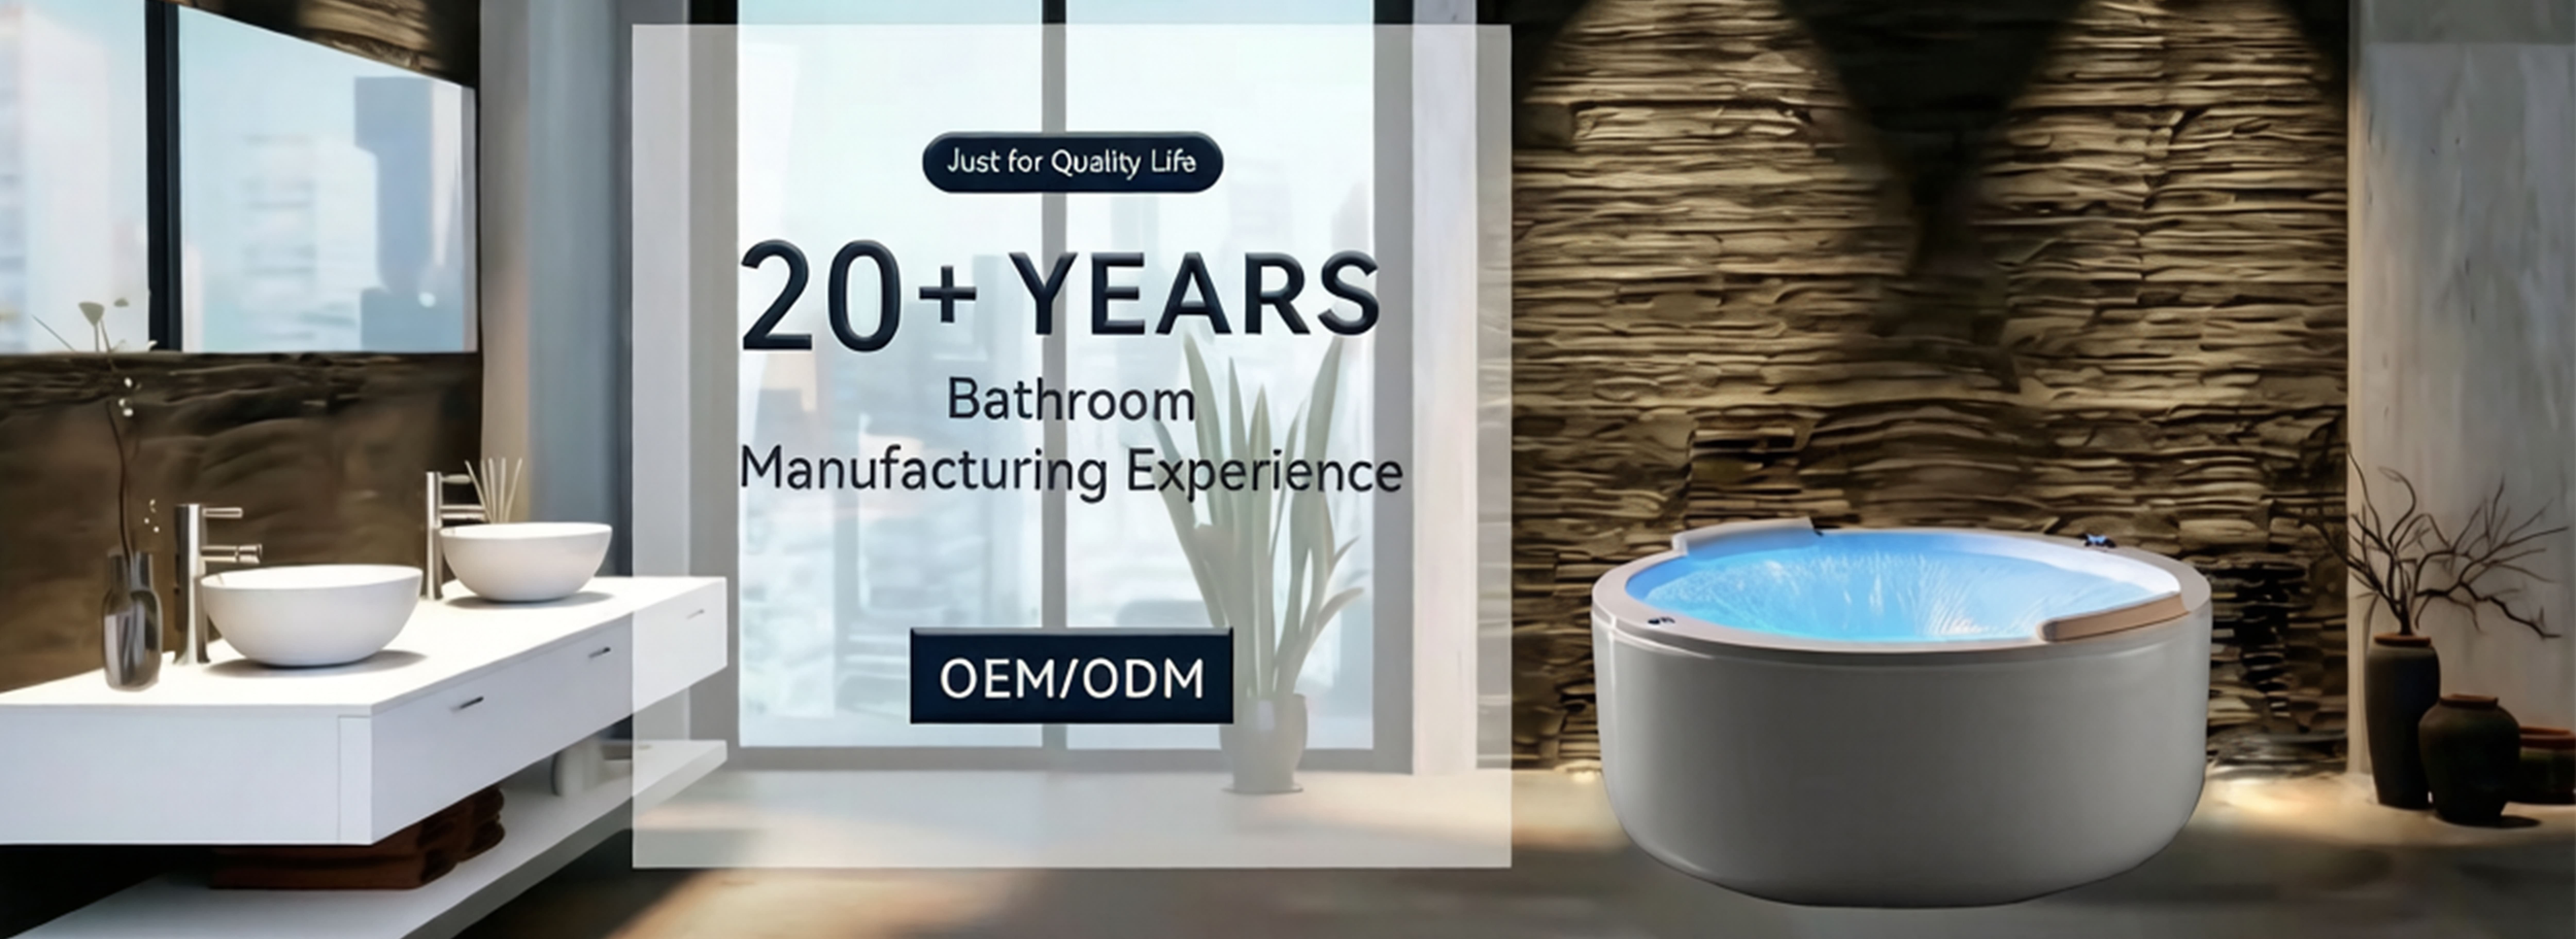


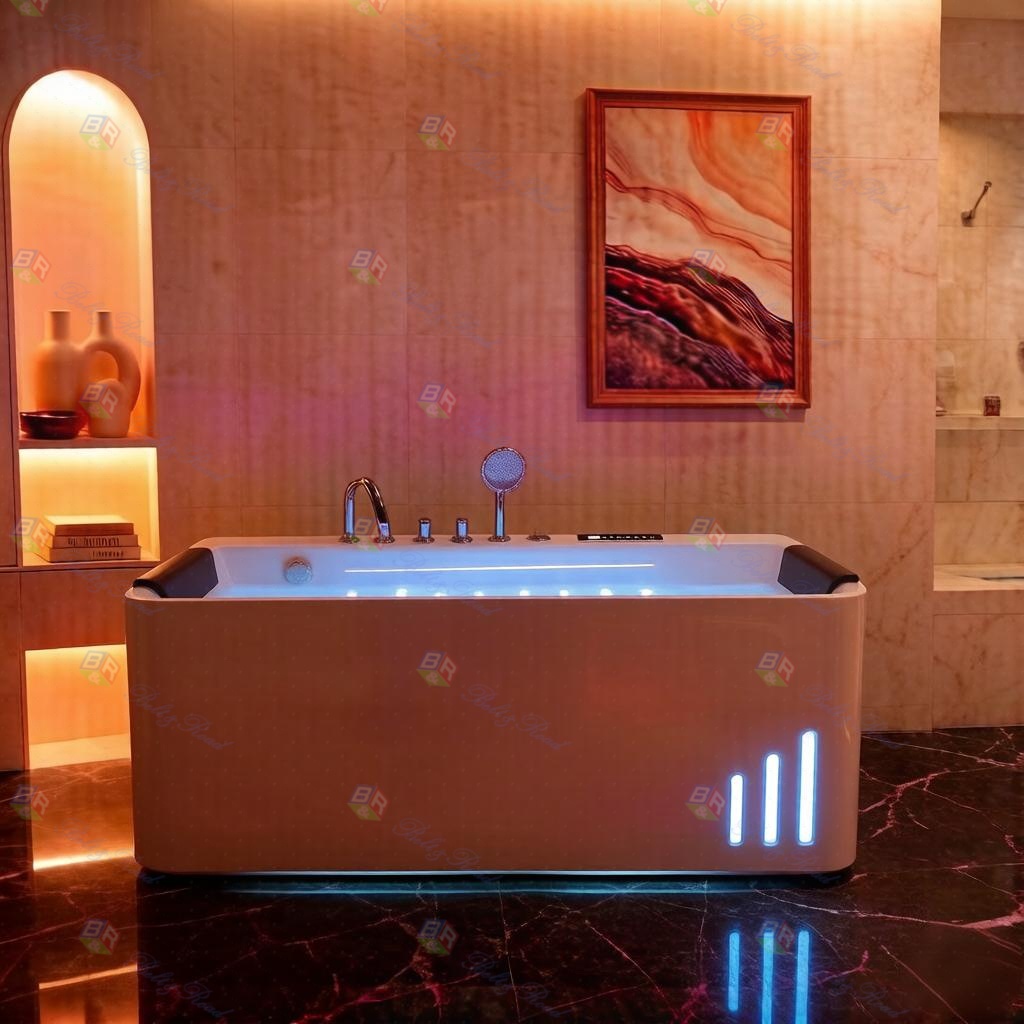
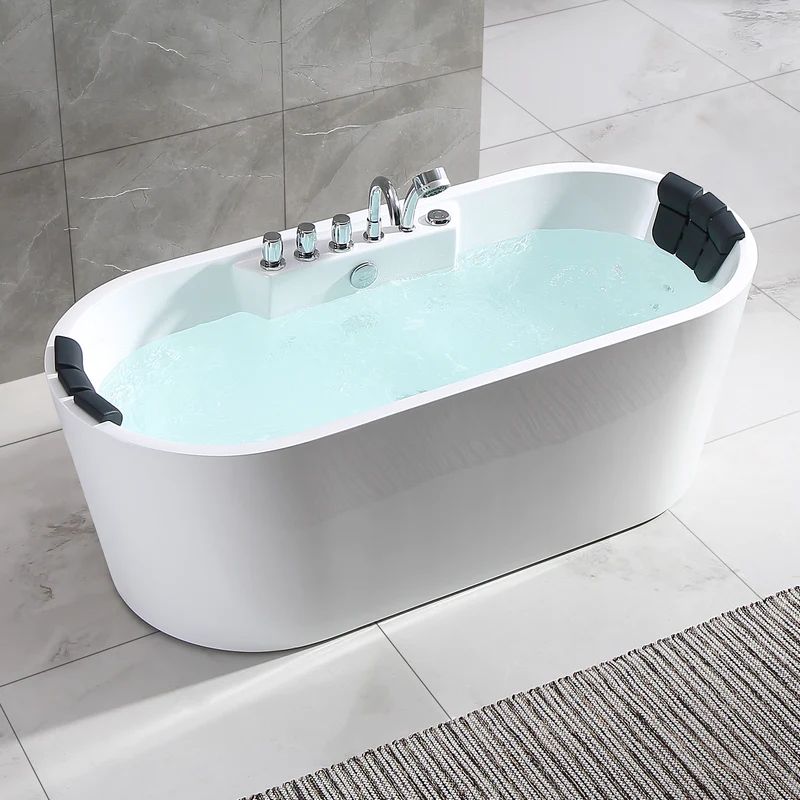
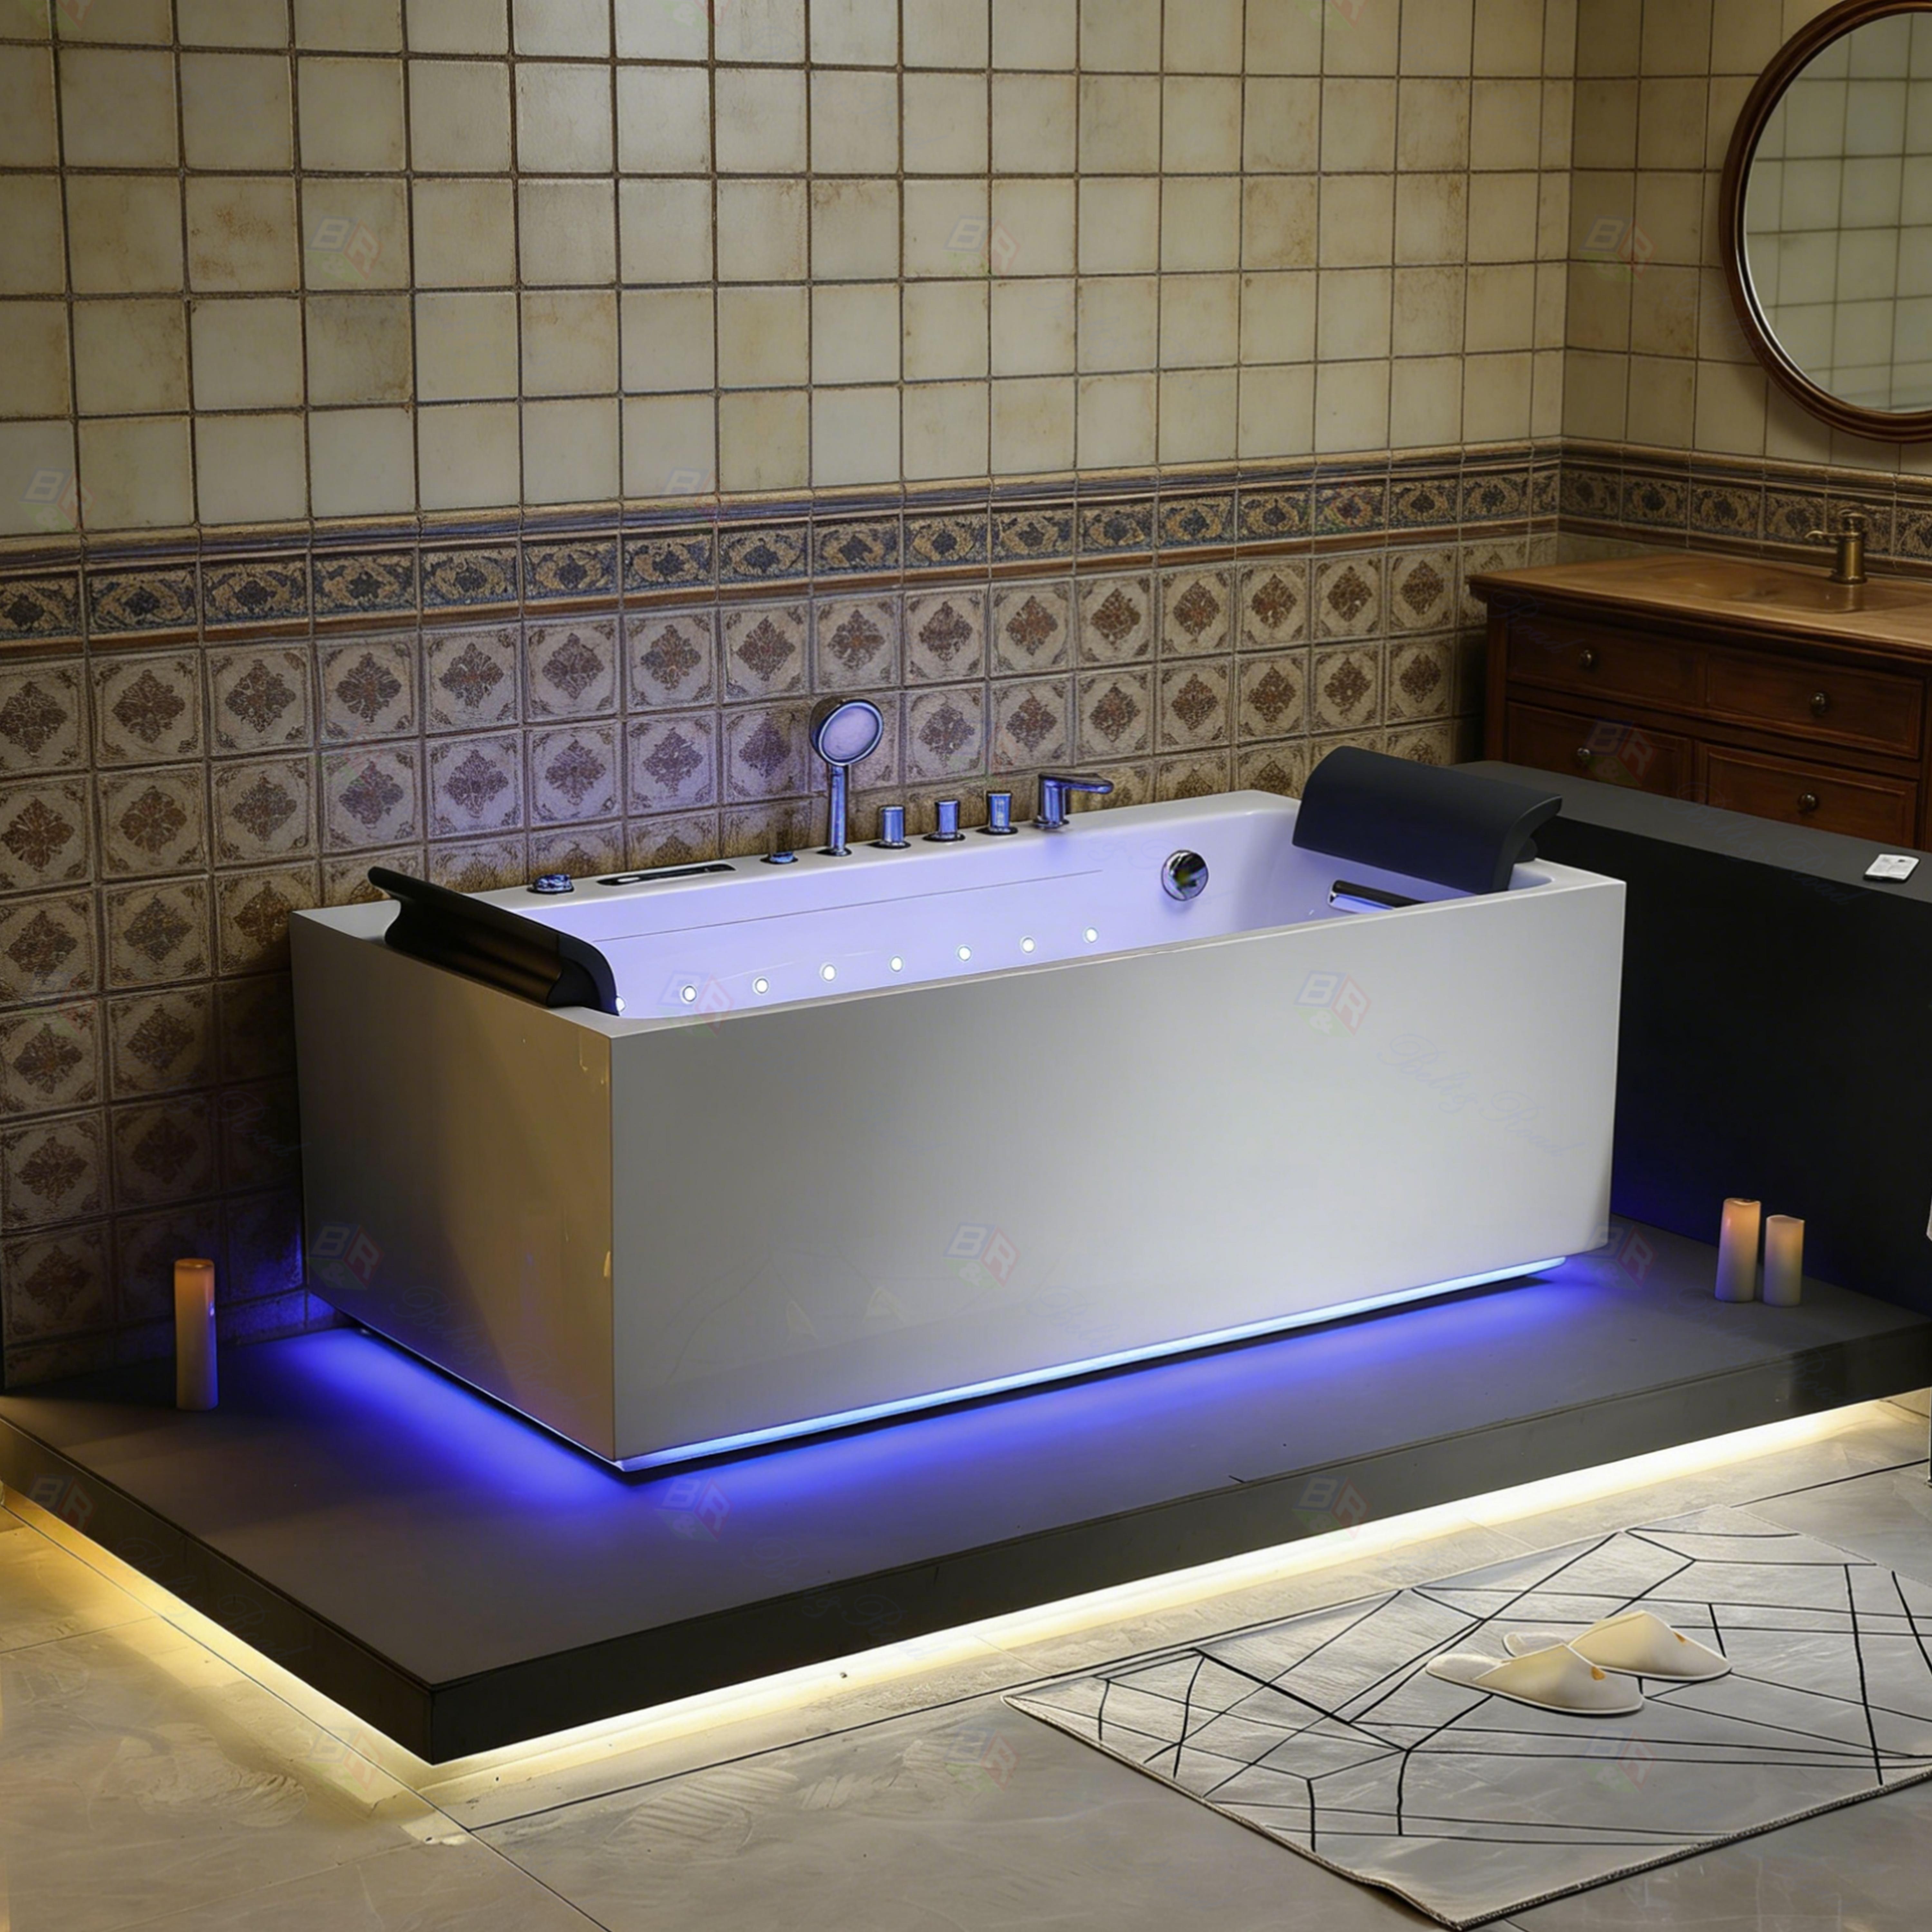

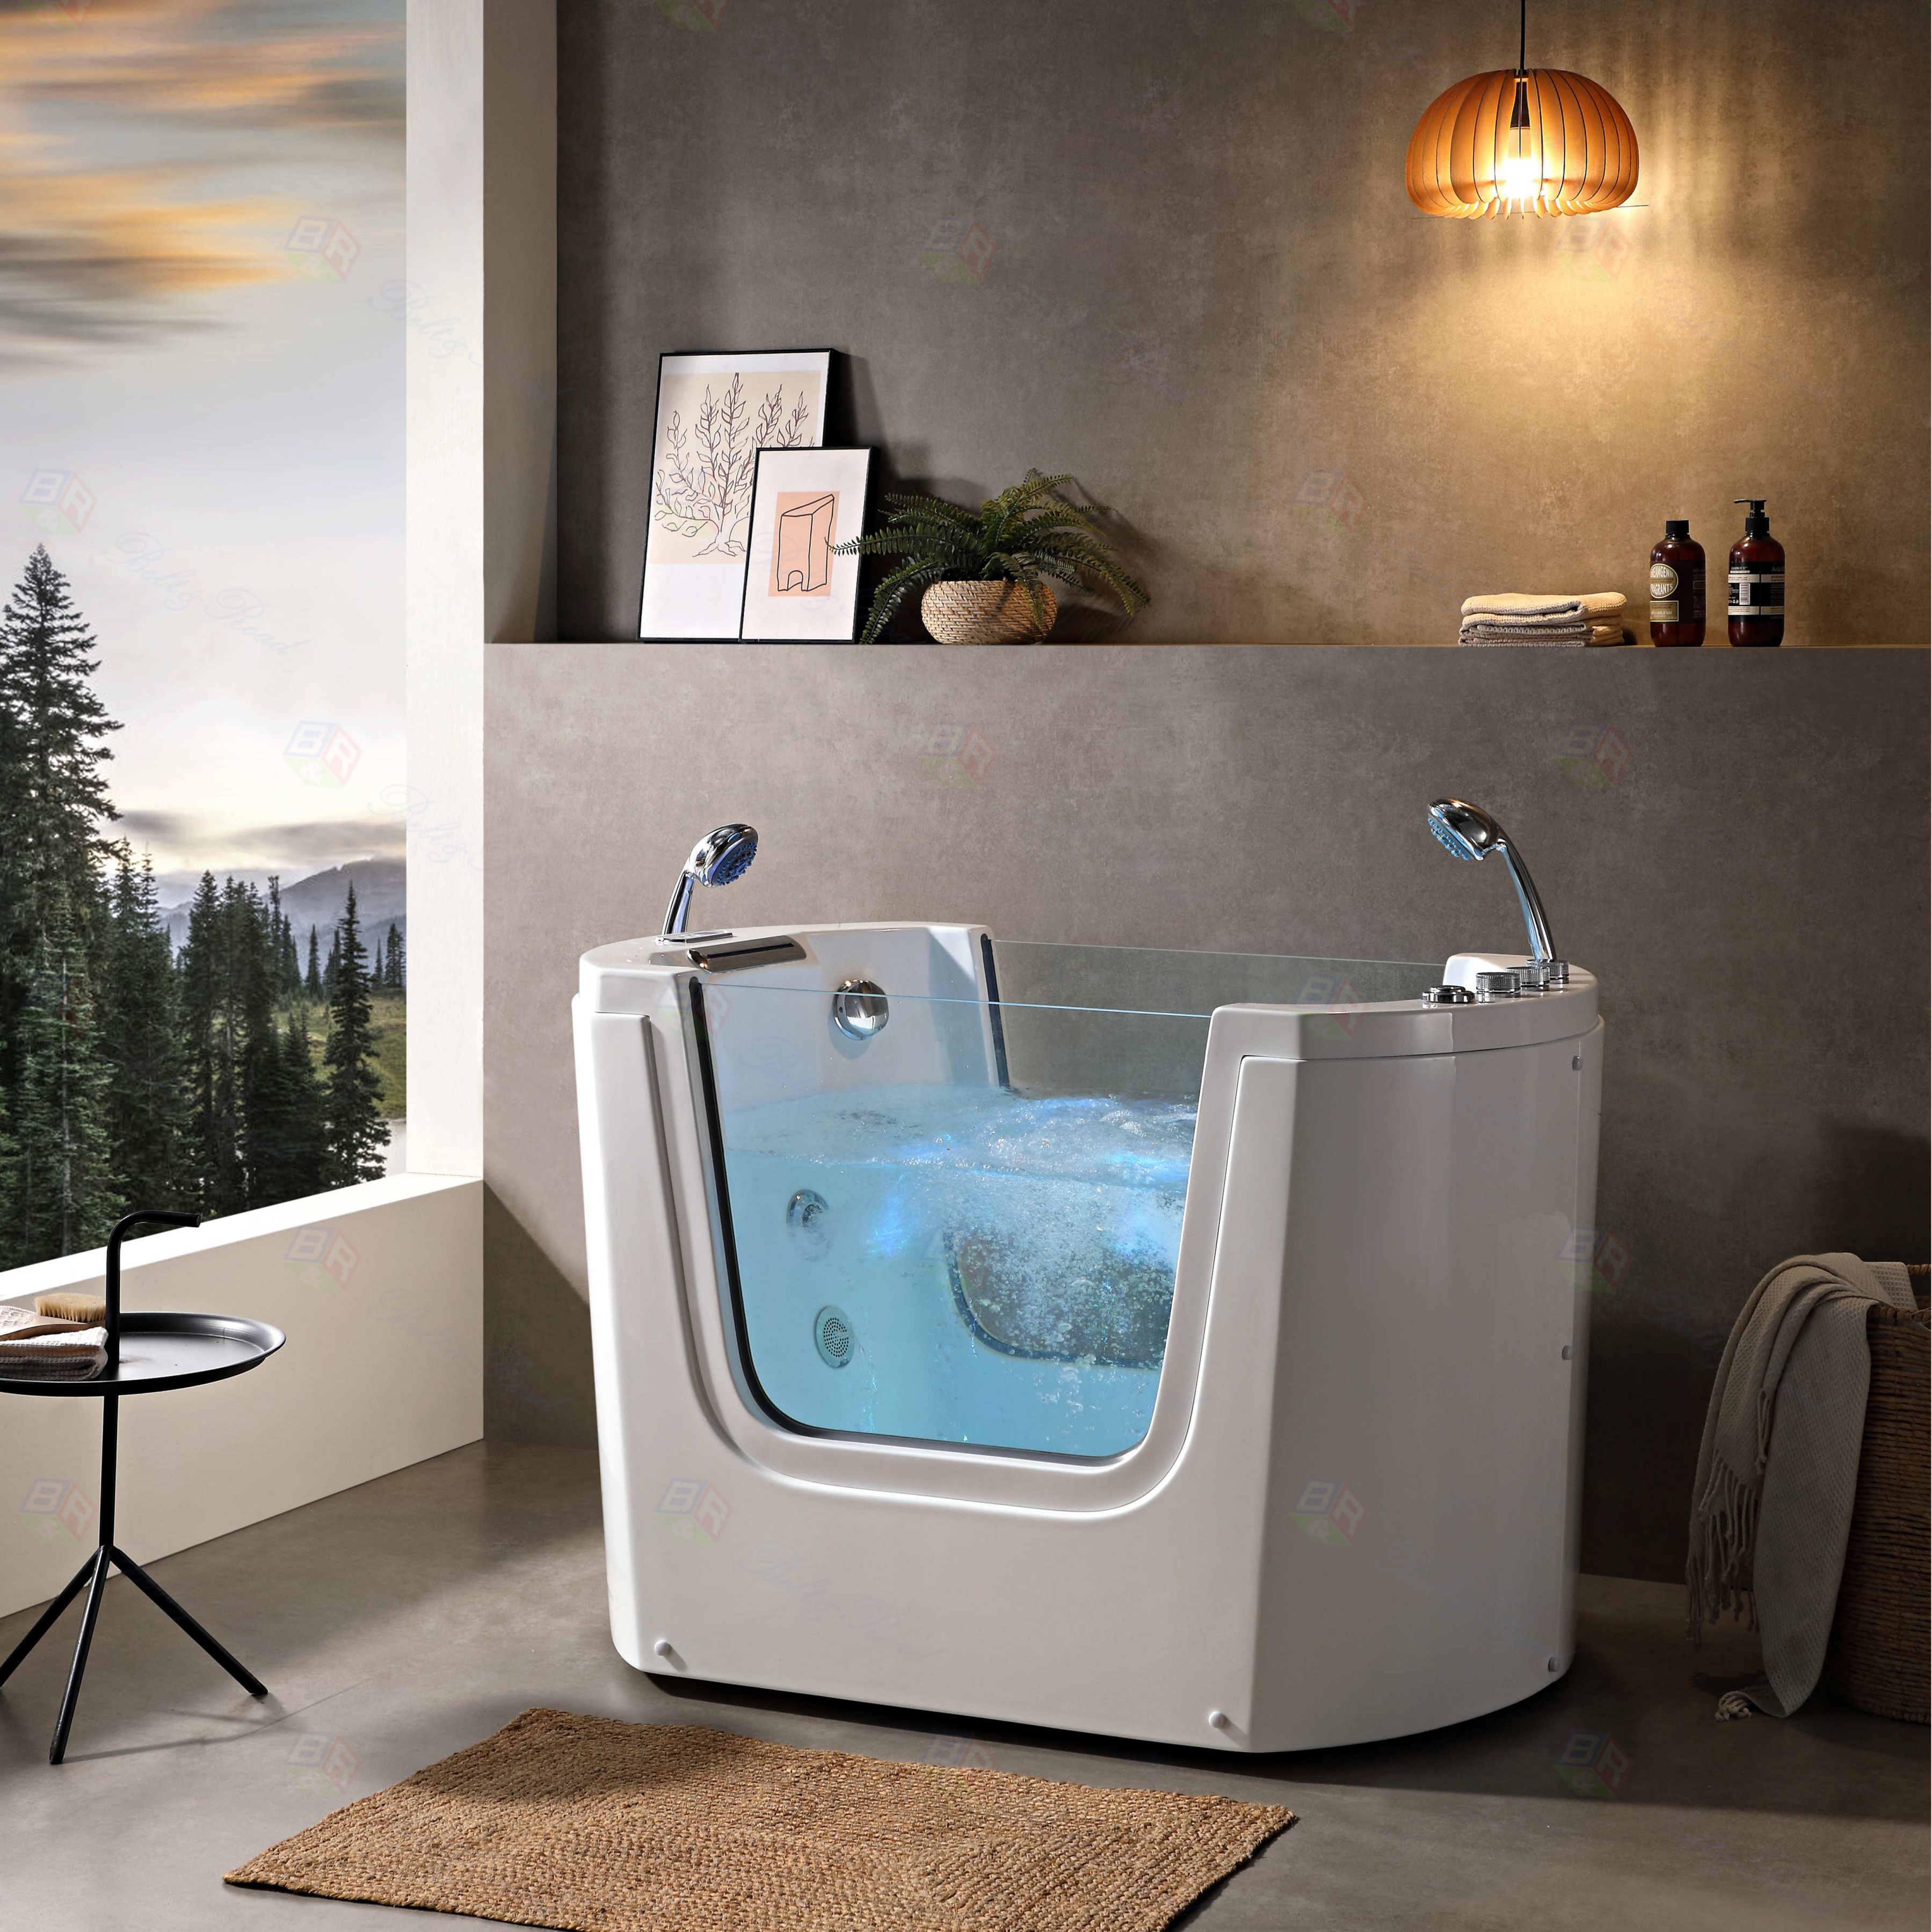

Imagine stepping into a warm, bubbling sanctuary at the end of a long day. A whirlpool bathtub with heater combines the therapeutic benefits of hydrotherapy jets with the luxurious comfort of maintained warm water, transforming your bathroom into a personal spa. While professional installation is recommended for complex electrical and plumbing work, many handy homeowners can undertake parts of this project with careful planning. This guide will walk you through the key steps for installing a whirlpool bathtub with heater, ensuring a safe and rewarding upgrade to your home.
.jpg)
Before you begin, the most critical step is planning. Choose the location for your new whirlpool bathtub with heater carefully. It must have access to standard plumbing (water supply and drain) and, crucially, a dedicated electrical circuit. The heater element and pump require significant power, and local building codes mandate a Ground Fault Circuit Interrupter (GFCI) for safety. Always consult and obtain necessary permits from your local authority. Once your model arrives, inspect the whirlpool bathtub and its heater unit for any shipping damage before proceeding.
The installation process starts with preparing the space. If replacing an old tub, remove it carefully and inspect the subfloor and wall structures for any needed repairs. Following the manufacturer's template, mark the tub's footprint and the locations for the drain, overflow, and access panel. The access panel is vital for future maintenance of the pump and heater components. Next, set the tub in place temporarily to check the fit. Ensure it is perfectly level using shims; an unlevel tub can affect jet performance and water circulation.
.JPG)
Plumbing comes next. Connect the drain and overflow assembly according to your bathtub's instructions, using plumber's putty or silicone sealant to prevent leaks. This is standard for any tub installation. The unique aspect of a heated whirlpool tub is the electrical setup. This is where extreme caution is paramount. You must run the dedicated electrical line from your main panel to the tub's location. The wiring for the pump, controls, and the integrated heater must be connected precisely as per the diagram provided with your unit. If you are not a certified electrician, hiring one for this phase is non-negotiable for your safety and to ensure compliance with codes.
After the tub is plumbed and wired (by a professional), lower it into its final position. Secure it according to the instructions, often using mounting brackets to the wall studs. Once secured, you can proceed to frame around the tub if it's being enclosed or tiled. Before closing up the walls permanently, it's time for a crucial test. Fill the jacuzzi bathtub with heater with water above the jet inlets. Without power, check all plumbing connections for leaks. Then, turn on the power and test the pump and jets. Finally, test the heater function, allowing it time to warm the water while monitoring the circuit breaker.
For those who desire a seamless, worry-free experience or a custom-designed unit, partnering with a professional manufacturer is the ideal path. Foshan Belt&Road Building Material Co., Ltd. is a specialist in crafting high-quality bathroom fixtures, including custom whirlpool bathtubs with advanced heating systems. They offer expert guidance, reliable products, and can connect you with certified installers. For inquiries about their product range or custom solutions, you can contact them at TEL: +086-13924556658 or Email: info@beltroadasia.com.
Regular maintenance will protect your investment. Periodically clean the jets with a recommended cleaner, check the filter, and ensure the heater elements are free of scale buildup. Proper installation and care mean your whirlpool bathtub with heater will provide years of relaxation and comfort, adding both value and pleasure to your home. Remember, when in doubt, especially regarding electrical connections for the bathtub heater, always enlist a qualified professional to ensure your spa oasis is both luxurious and safe.
.jpg)