Welcome to visit Foshan Belt&Road Building Material Co., Ltd.
- Product Name
- Product Keyword
- Product Model
- Product Summary
- Product Description
- Multi Field Search

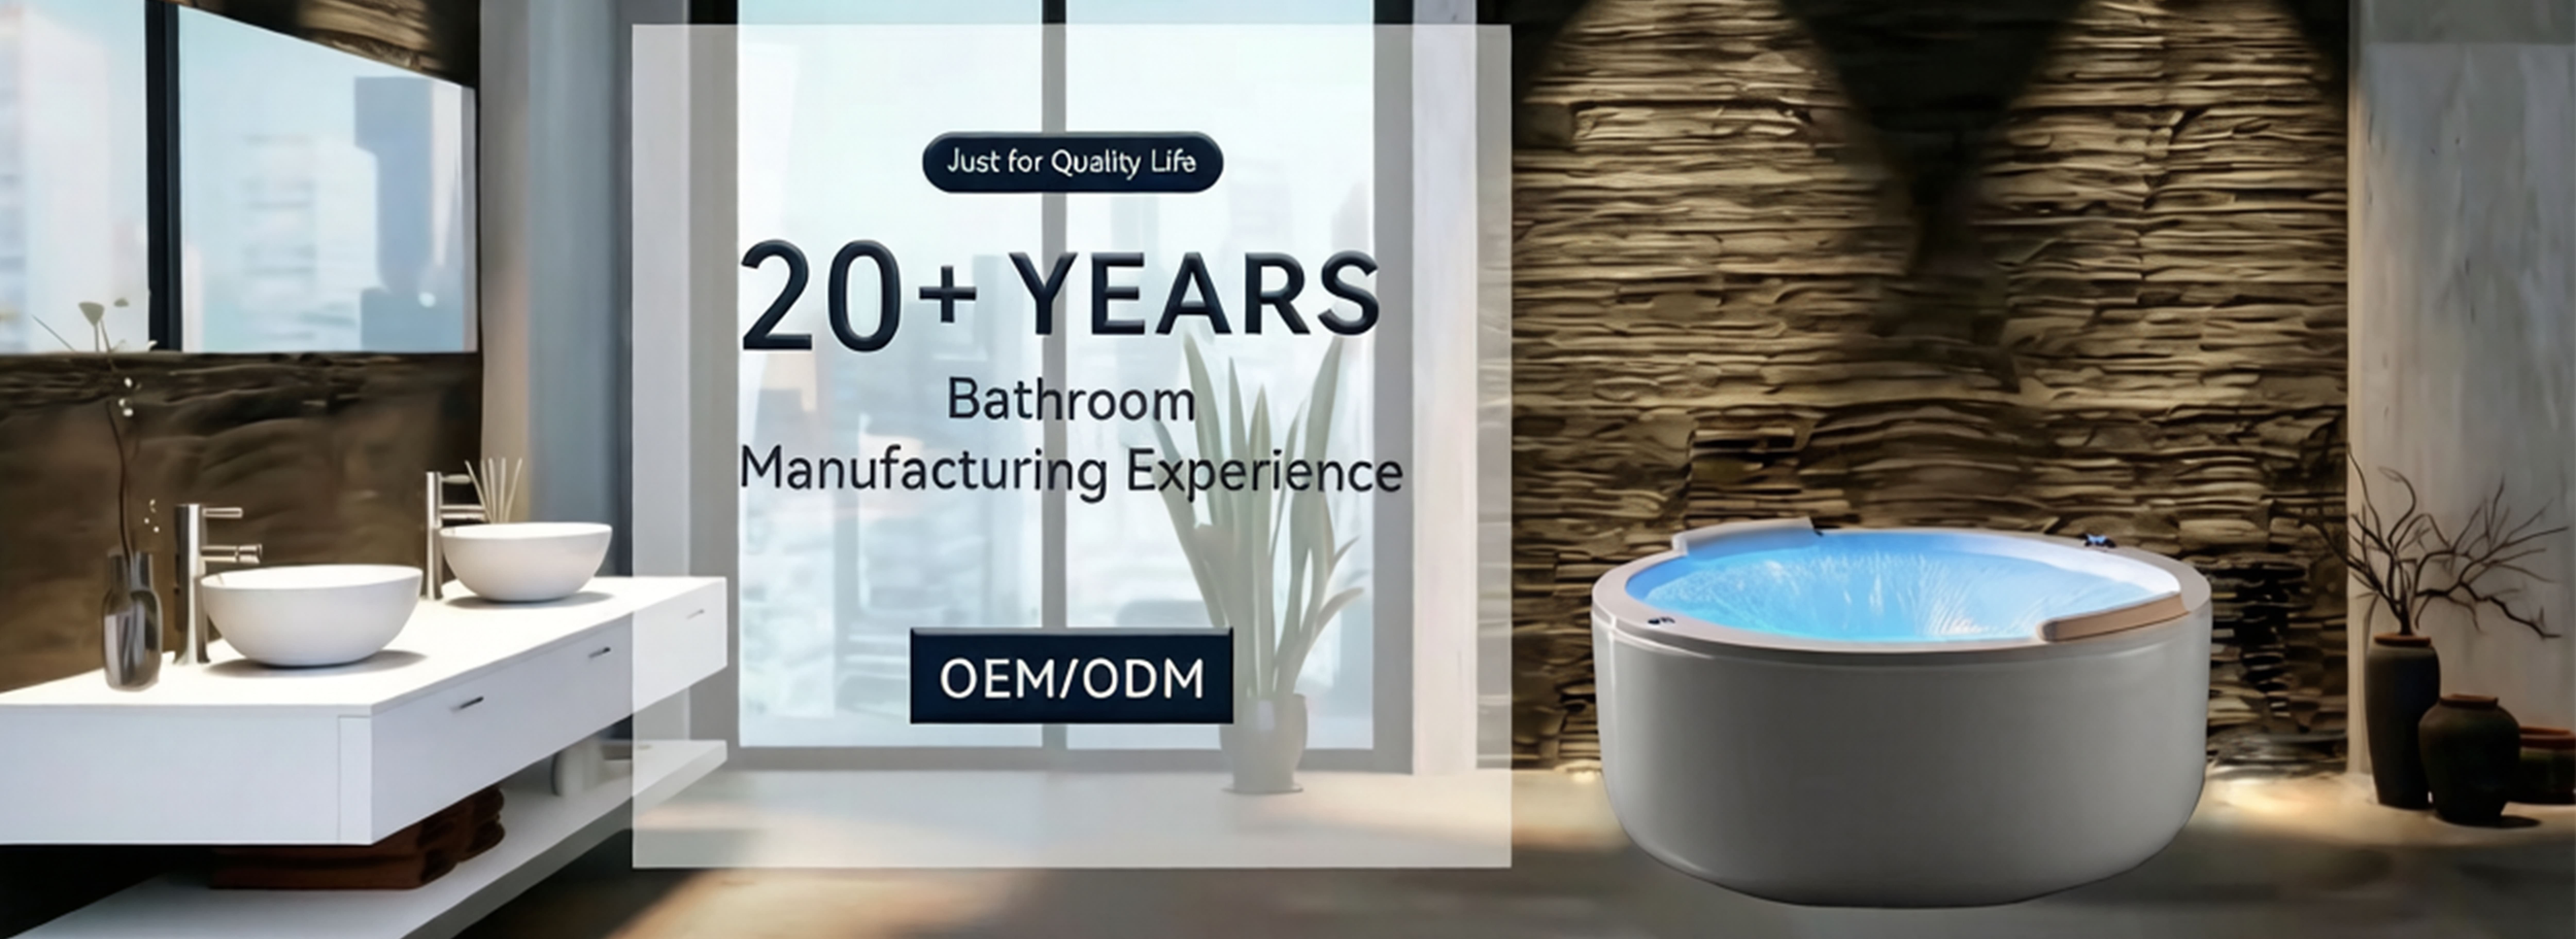


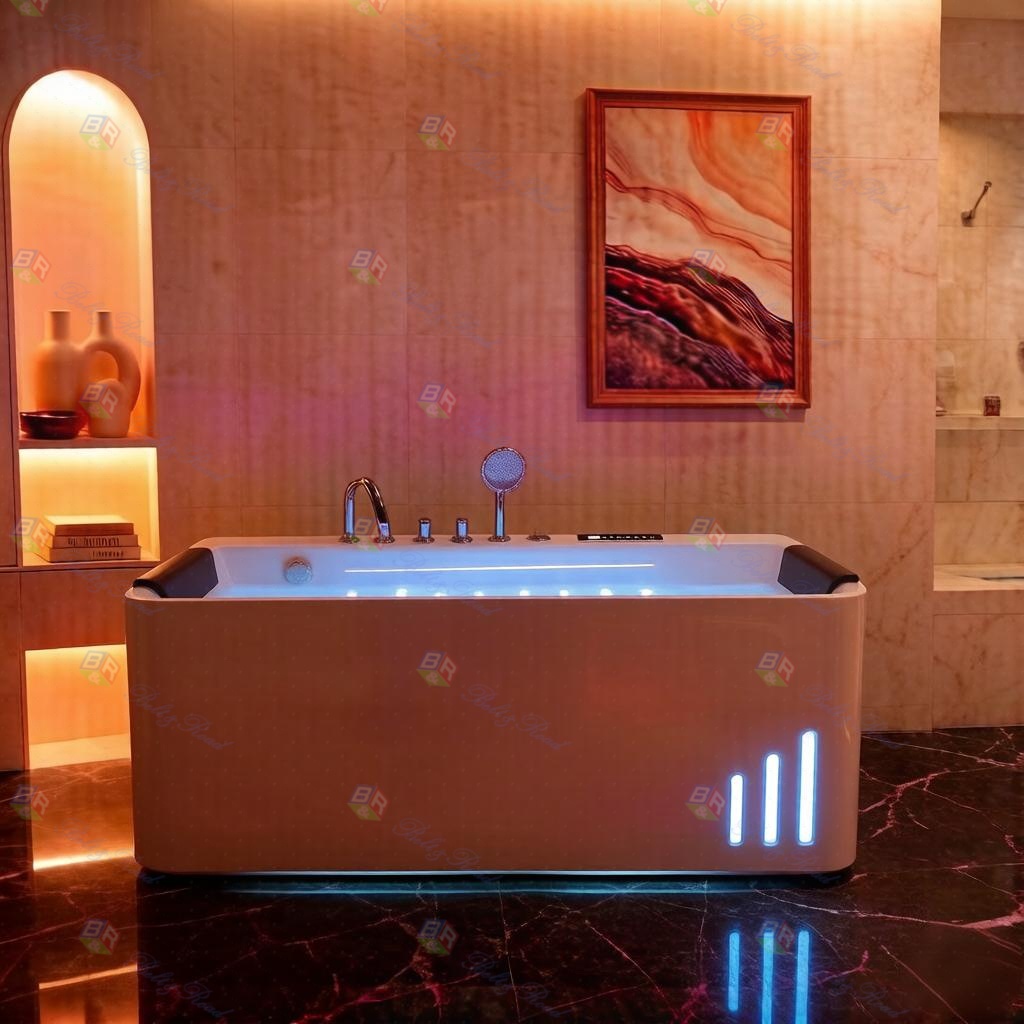
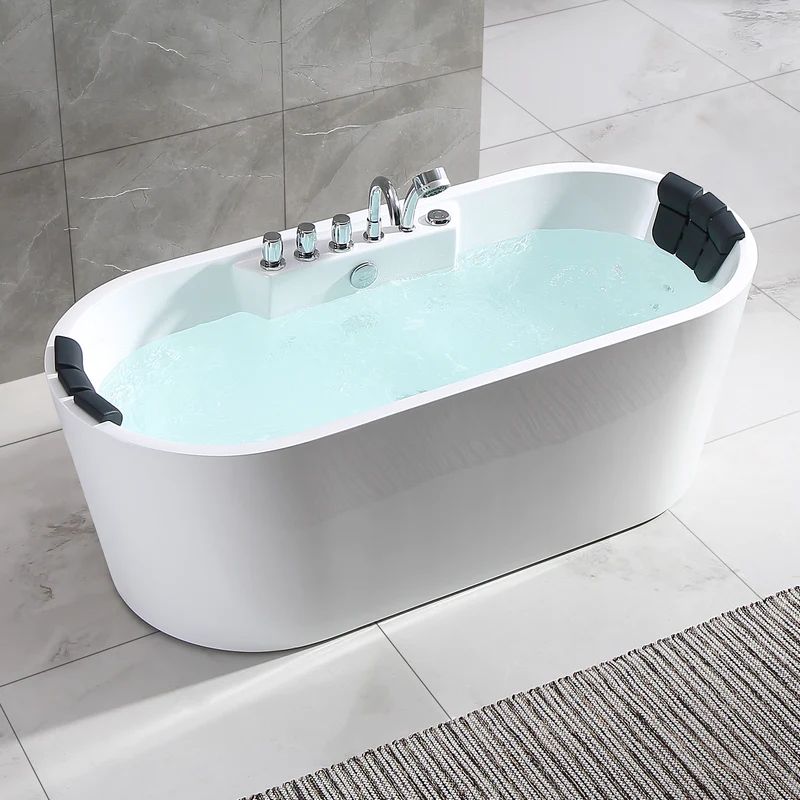
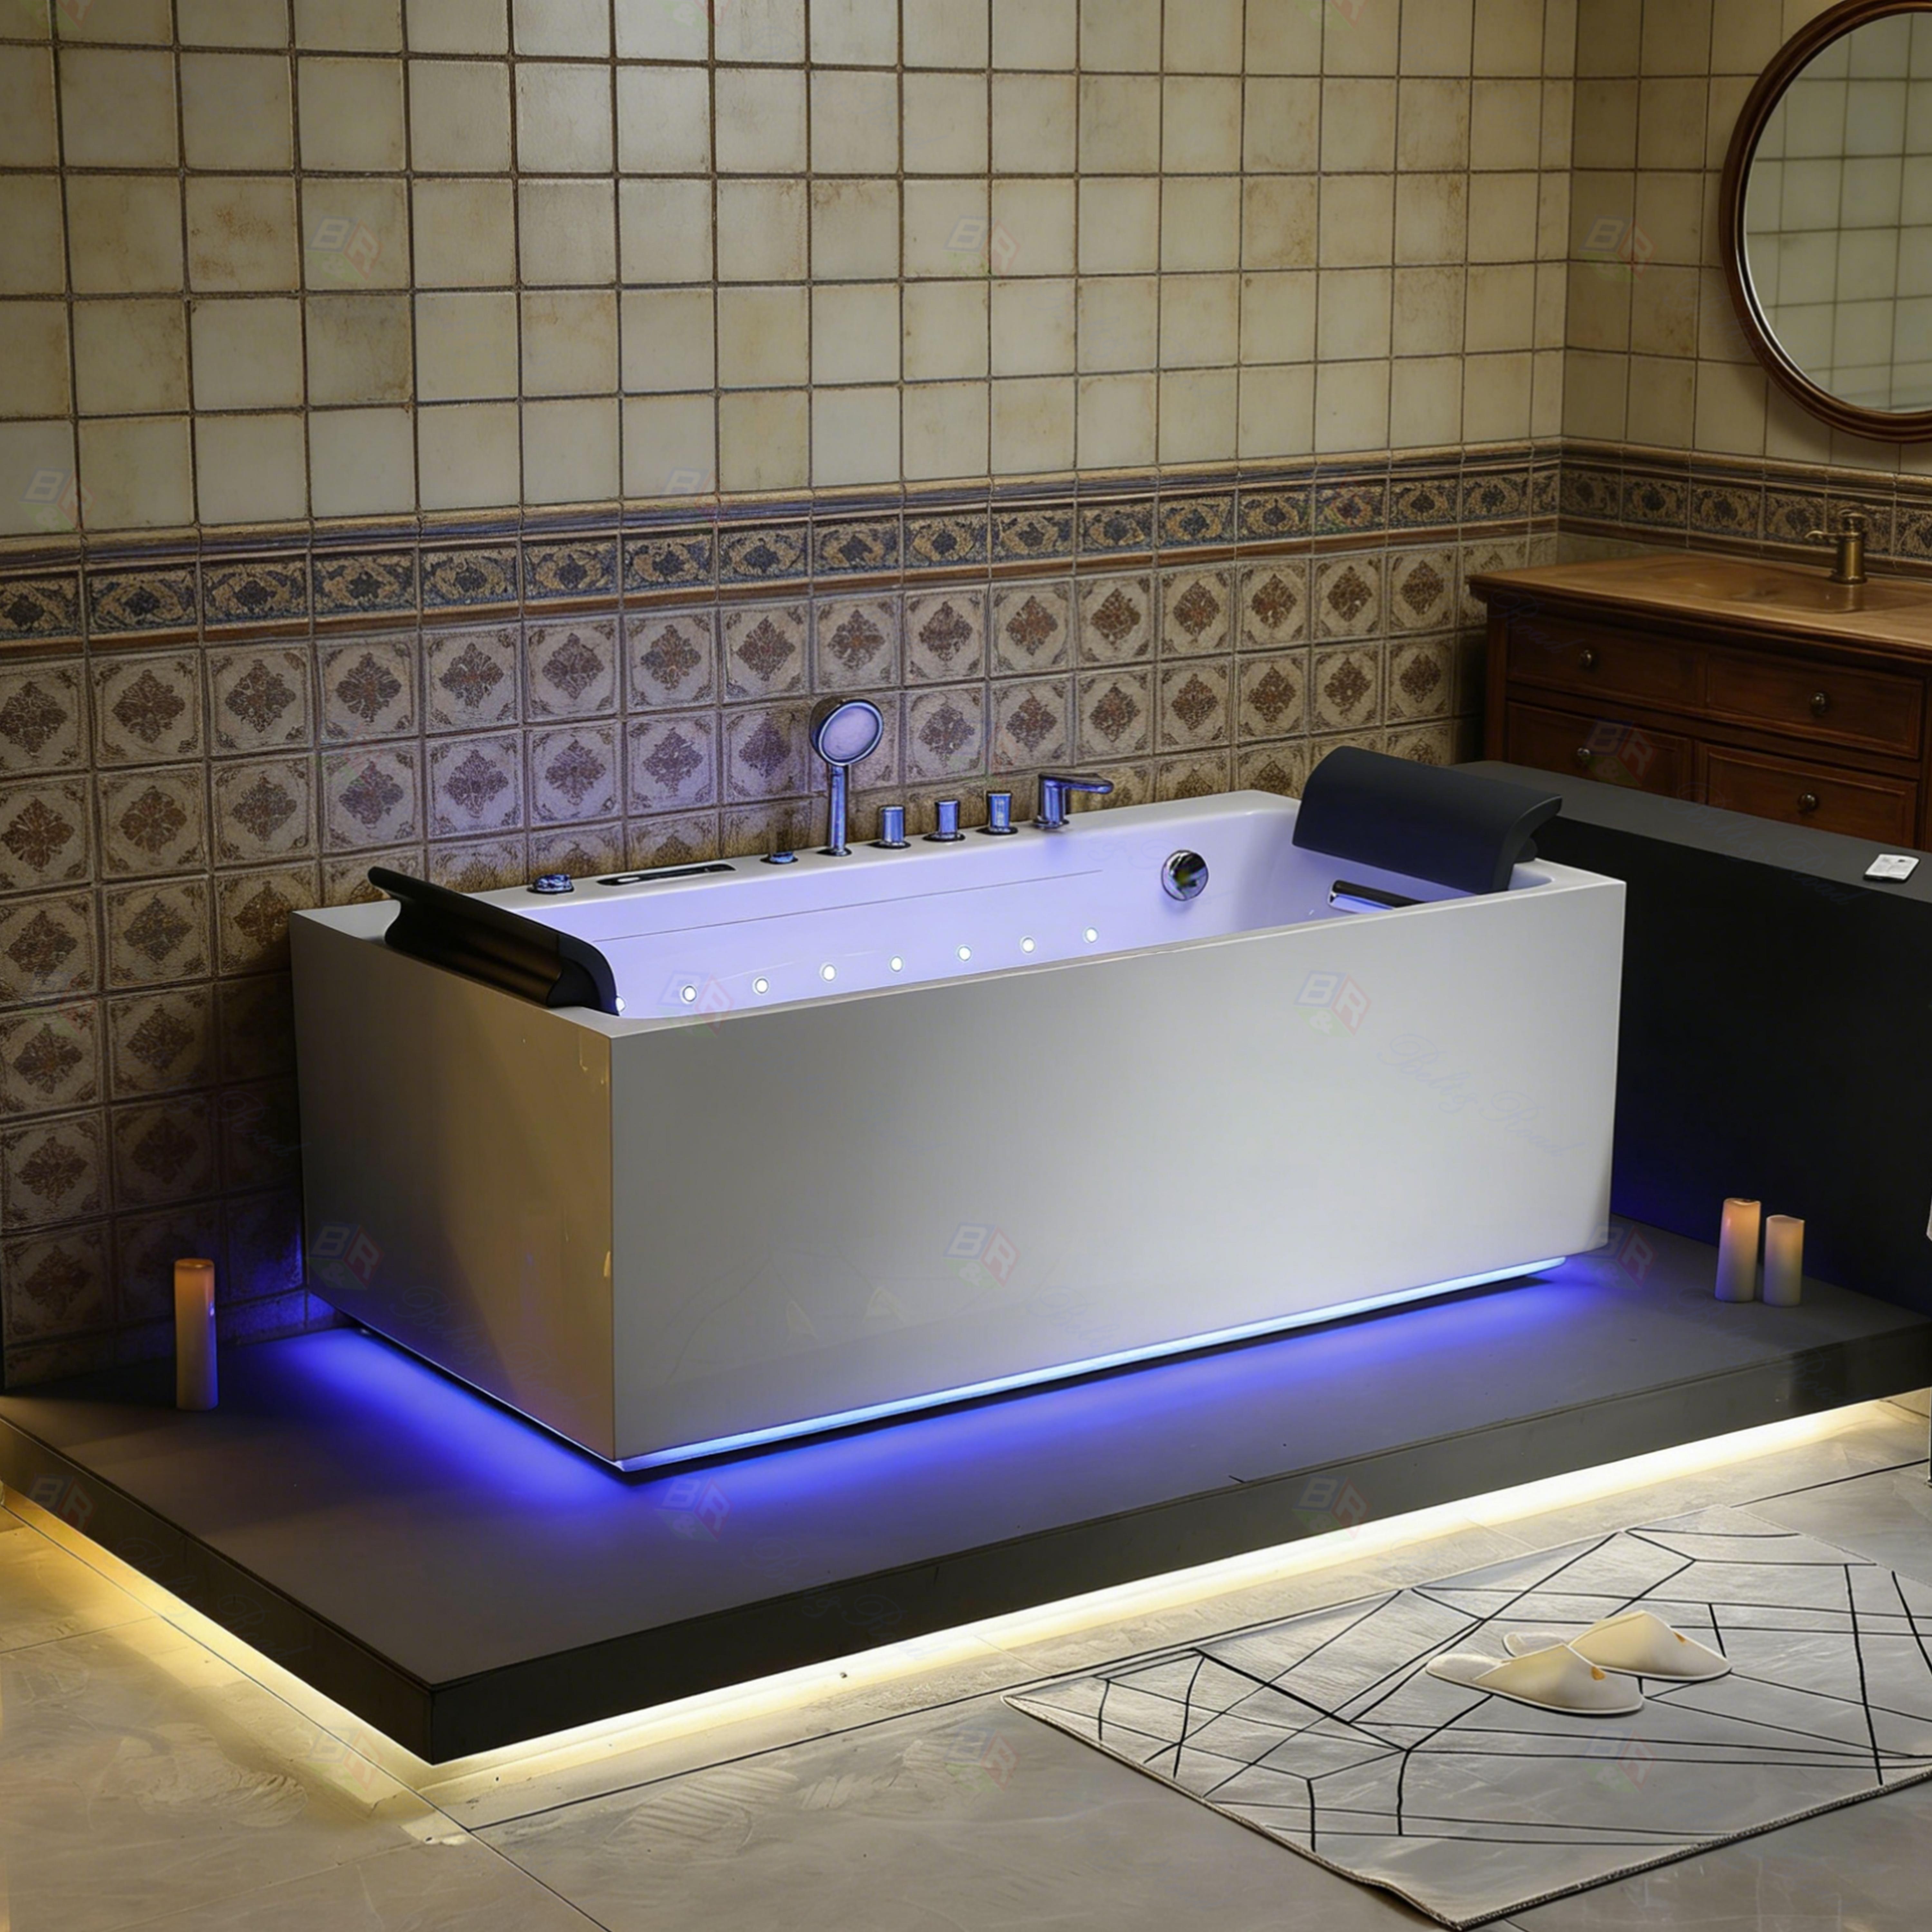

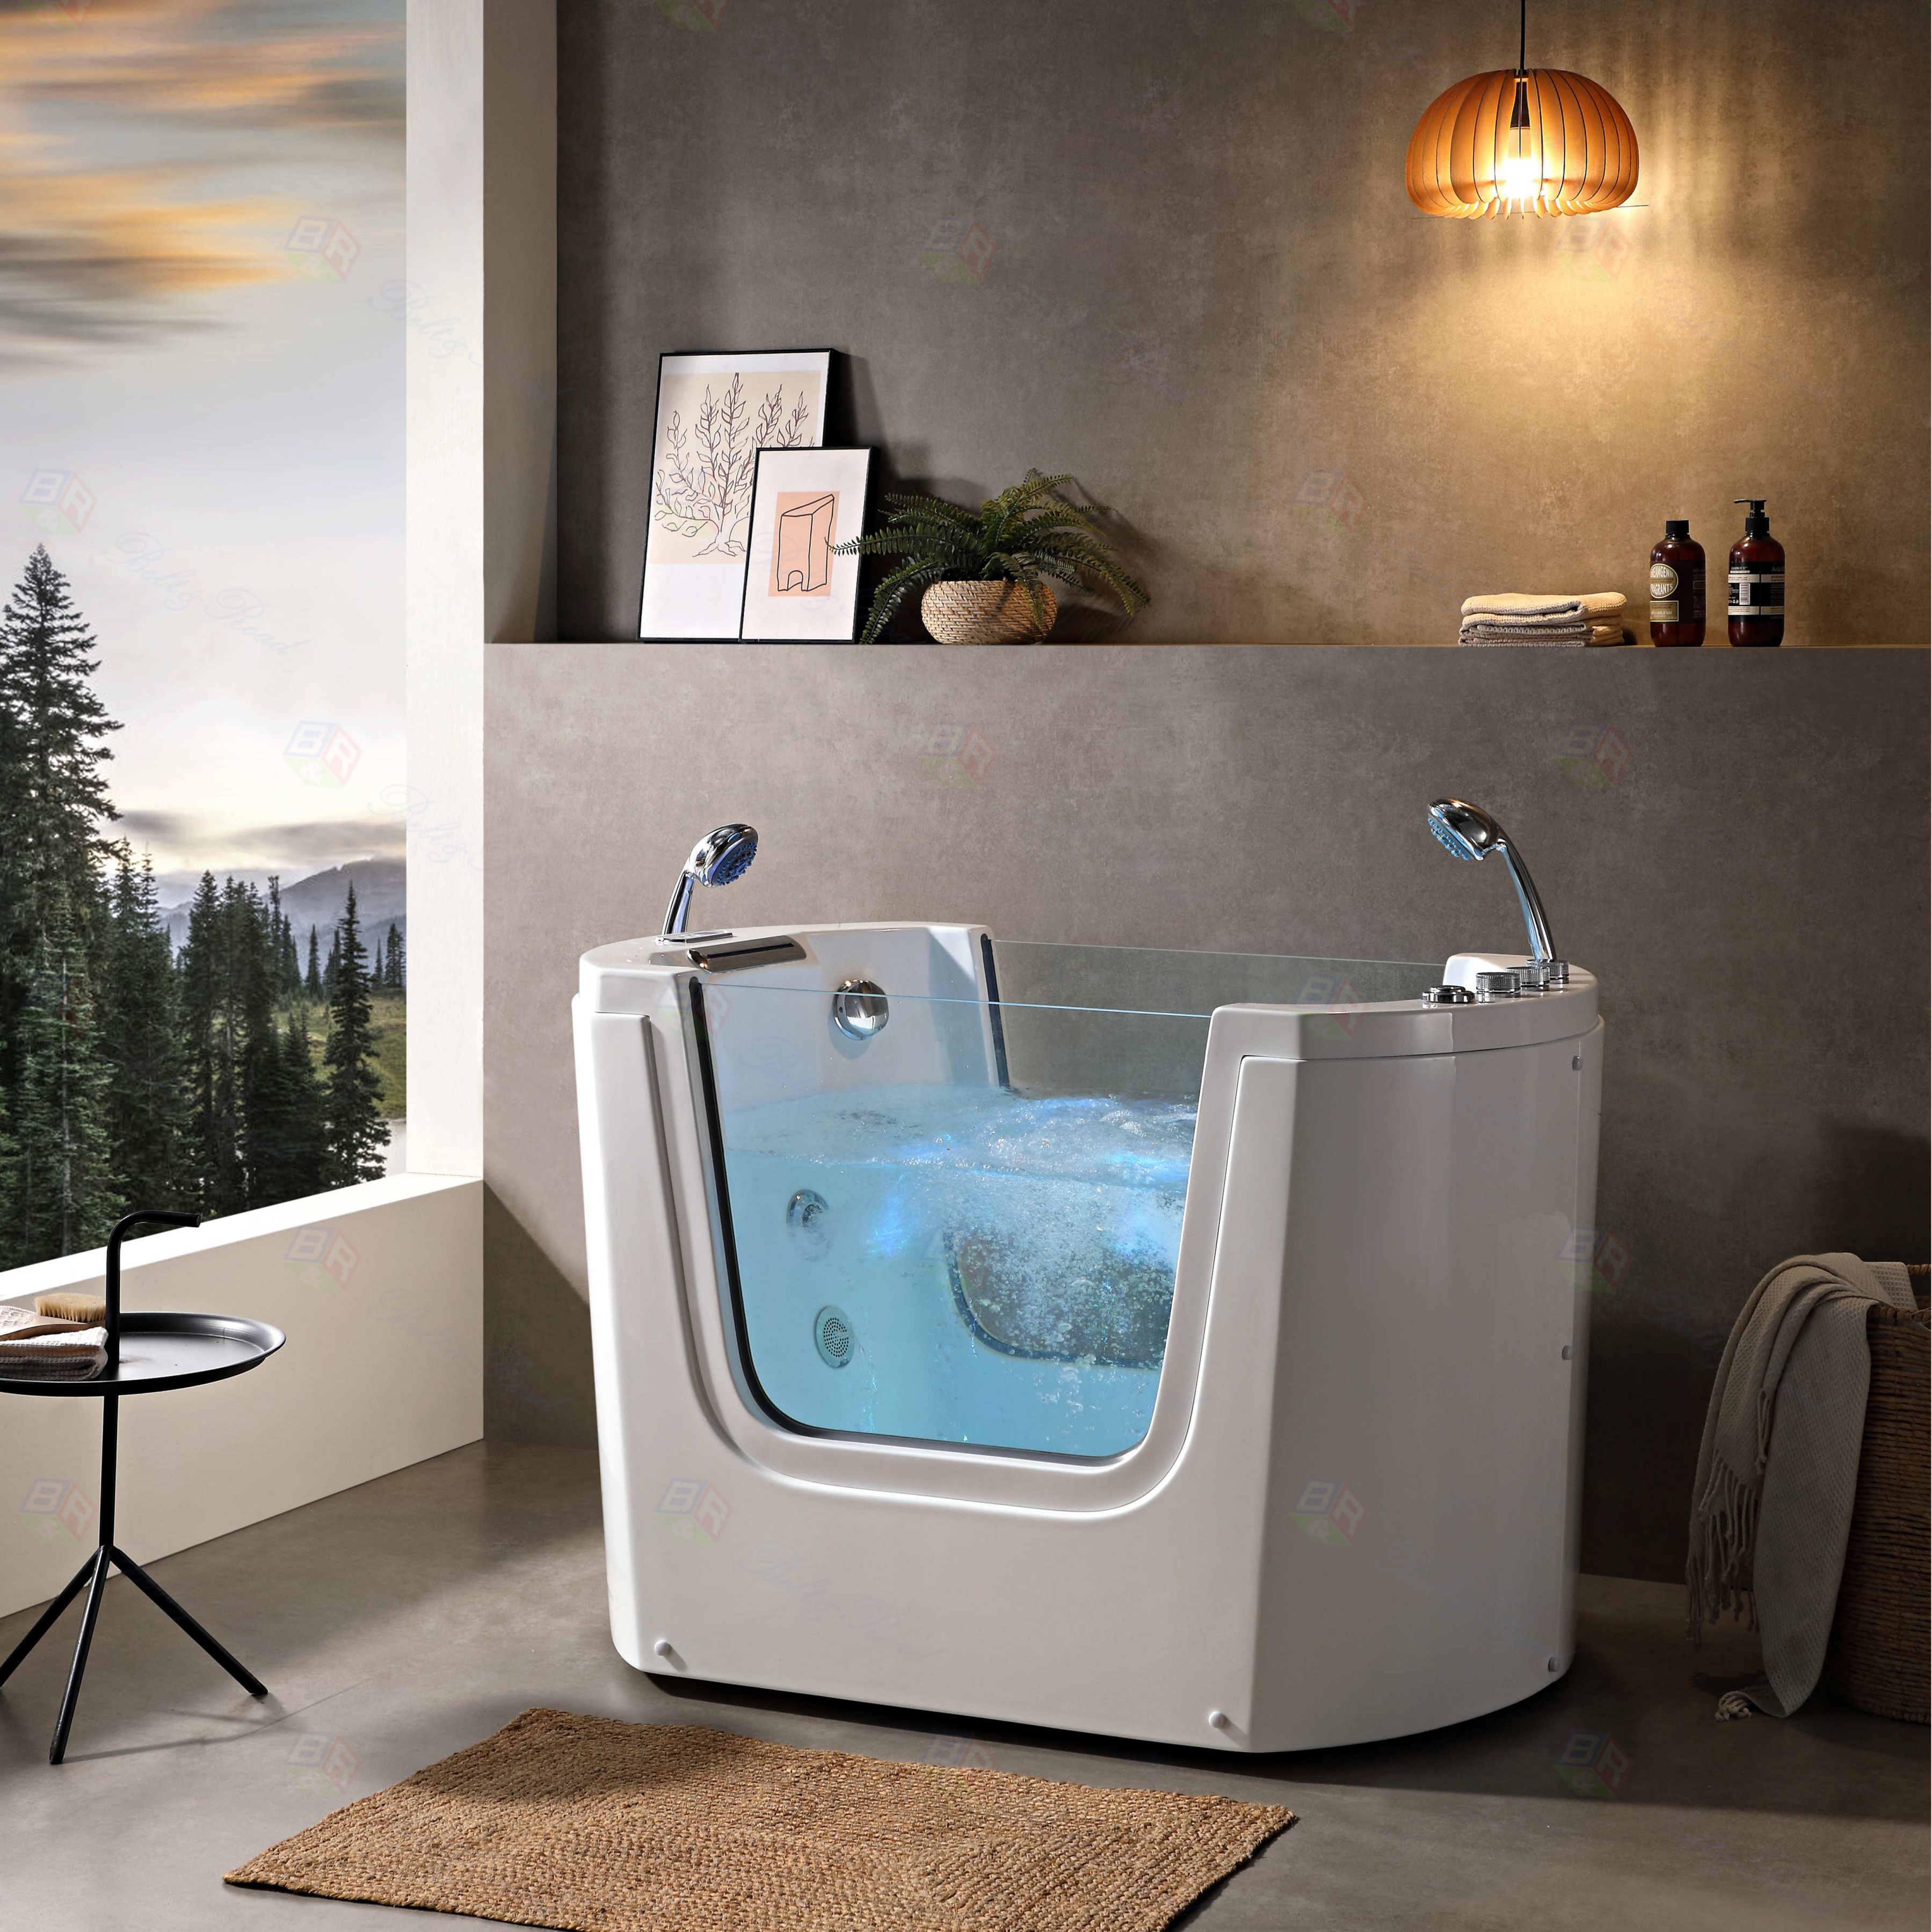

Imagine stepping into a warm, swirling oasis at the end of a long day. A whirlpool bathtub with a heater transforms your bathroom into a personal spa, offering therapeutic relaxation and luxury. For homeowners and dealers looking to upgrade, understanding the installation process is key. This guide will walk you through installing a whirlpool bathtub with a heater, ensuring a smooth and safe upgrade to your home sanctuary.
.jpg)
Before you begin, choosing the right unit is crucial. Consider size, jet configuration, heater capacity, and energy efficiency. Always consult local building codes and, for complex electrical and plumbing work, consider hiring a licensed professional. Safety first!
Step 1: Planning and Preparation
.jpg)
Identify the perfect location, ensuring structural support for the tub's weight when full. Check for existing plumbing and electrical lines. Your new whirlpool bathtub with a heater will require a dedicated GFCI-protected electrical circuit and accessible water supply/drain lines. Gather all necessary tools and the manufacturer's manual.
Step 2: Removing the Old Fixture
Turn off the water and power. Carefully disconnect and remove your old bathtub. This is an excellent time to inspect and repair the subfloor and wall framing if needed.
Step 3: Rough-In Plumbing and Electrical
This is a critical phase for your heated whirlpool tub. Install the new drain and overflow assembly according to the manual. Run the dedicated electrical line for the pump and the integrated heater to the installation site, leaving enough slack for final connections. A professional electrician is highly recommended for this step to ensure all heater and pump wiring is safe and to code.
Step 4: Placing the Whirlpool Bathtub
With help, carefully lower the tub into position. Use a level to ensure it is perfectly even in all directions. An unlevel tub can affect jet performance and water circulation. Once positioned, secure it to the wall studs and floor as instructed.
.JPG)
Step 5: Making Final Connections
Connect the plumbing lines to the drain and water supply. Next, make the electrical connections for the pump motor and the bathtub heater unit. Double-check that all connections are tight and secure. Remember, the heater element must be properly grounded and connected to its dedicated circuit.
Step 6: Sealing and Insulation
Apply a high-quality sealant (like silicone) around the entire perimeter where the tub meets the walls and floor. Insulating the tub's underside with foam board can significantly improve heat retention and reduce energy costs, making your whirlpool bathtub with heater more efficient.
Step 7: Testing and Finishing
Before closing up any access panels, it's time for a test. Fill the tub with water above the jet inlets. Turn on the pump to check for leaks and proper jet operation. Then, test the heater function to ensure it reaches and maintains the set temperature safely. Once confirmed, you can proceed with installing the access panel and finishing the walls with your chosen tile or surround.
Investing in a quality unit simplifies installation. For those seeking premium, customizable options, we recommend reaching out to Foshan Belt&Road Building Material Co., Ltd., a professional manufacturer specializing in high-end bathroom solutions. They offer expertise in crafting and supplying reliable whirlpool bathtubs with heaters, perfect for projects demanding quality. You can contact them at TEL: +086-13924556658 or Email: info@beltroadasia.com for inquiries and quotes.
Installing a whirlpool bathtub with a heater is a rewarding project that elevates your home's comfort and value. By following this guide and partnering with reputable suppliers, you can ensure a successful installation and enjoy countless hours of luxurious, heated hydrotherapy.