Welcome to visit Foshan Belt&Road Building Material Co., Ltd.
- Product Name
- Product Keyword
- Product Model
- Product Summary
- Product Description
- Multi Field Search

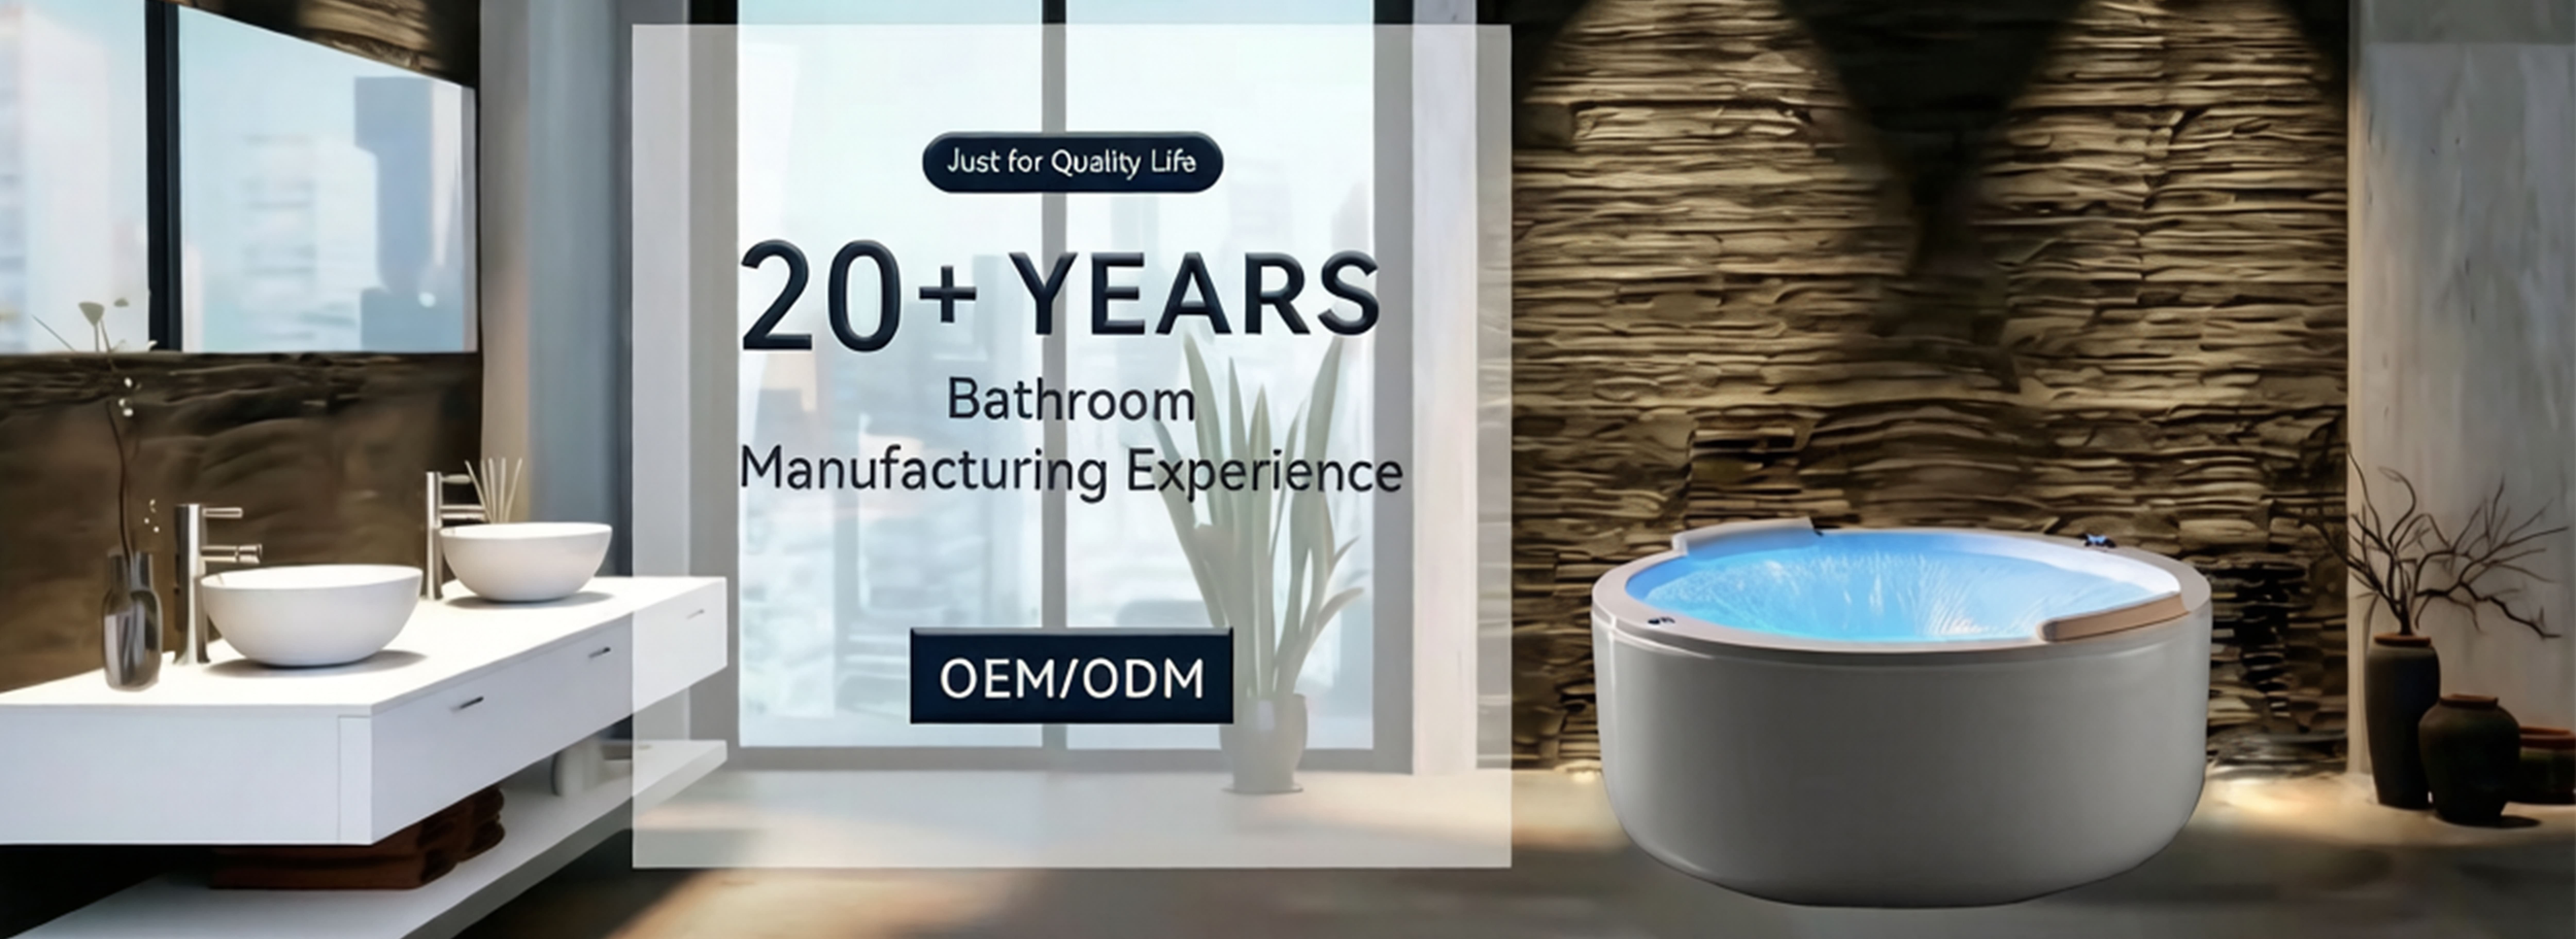
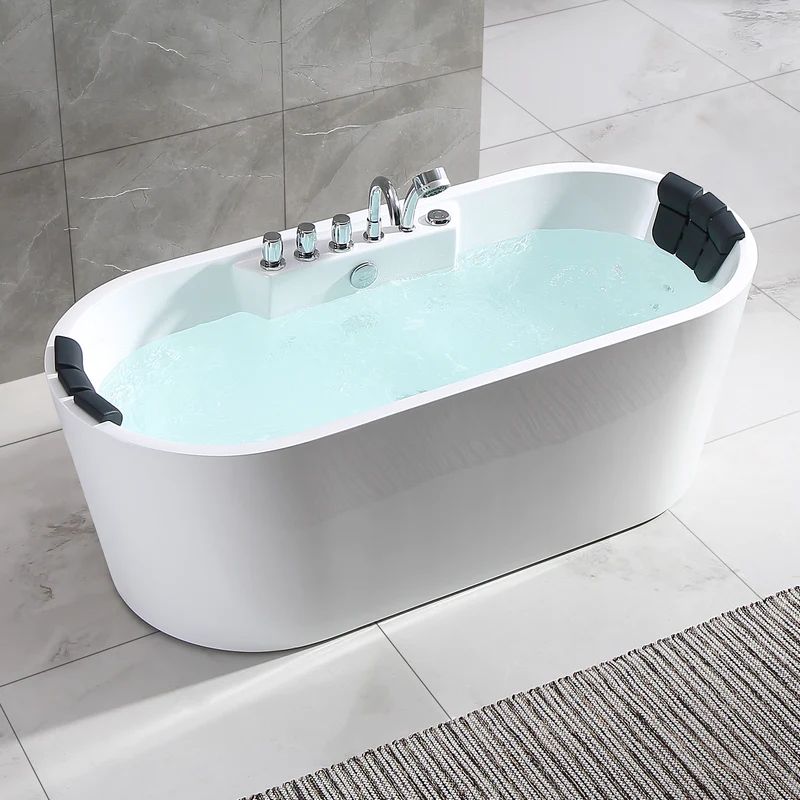
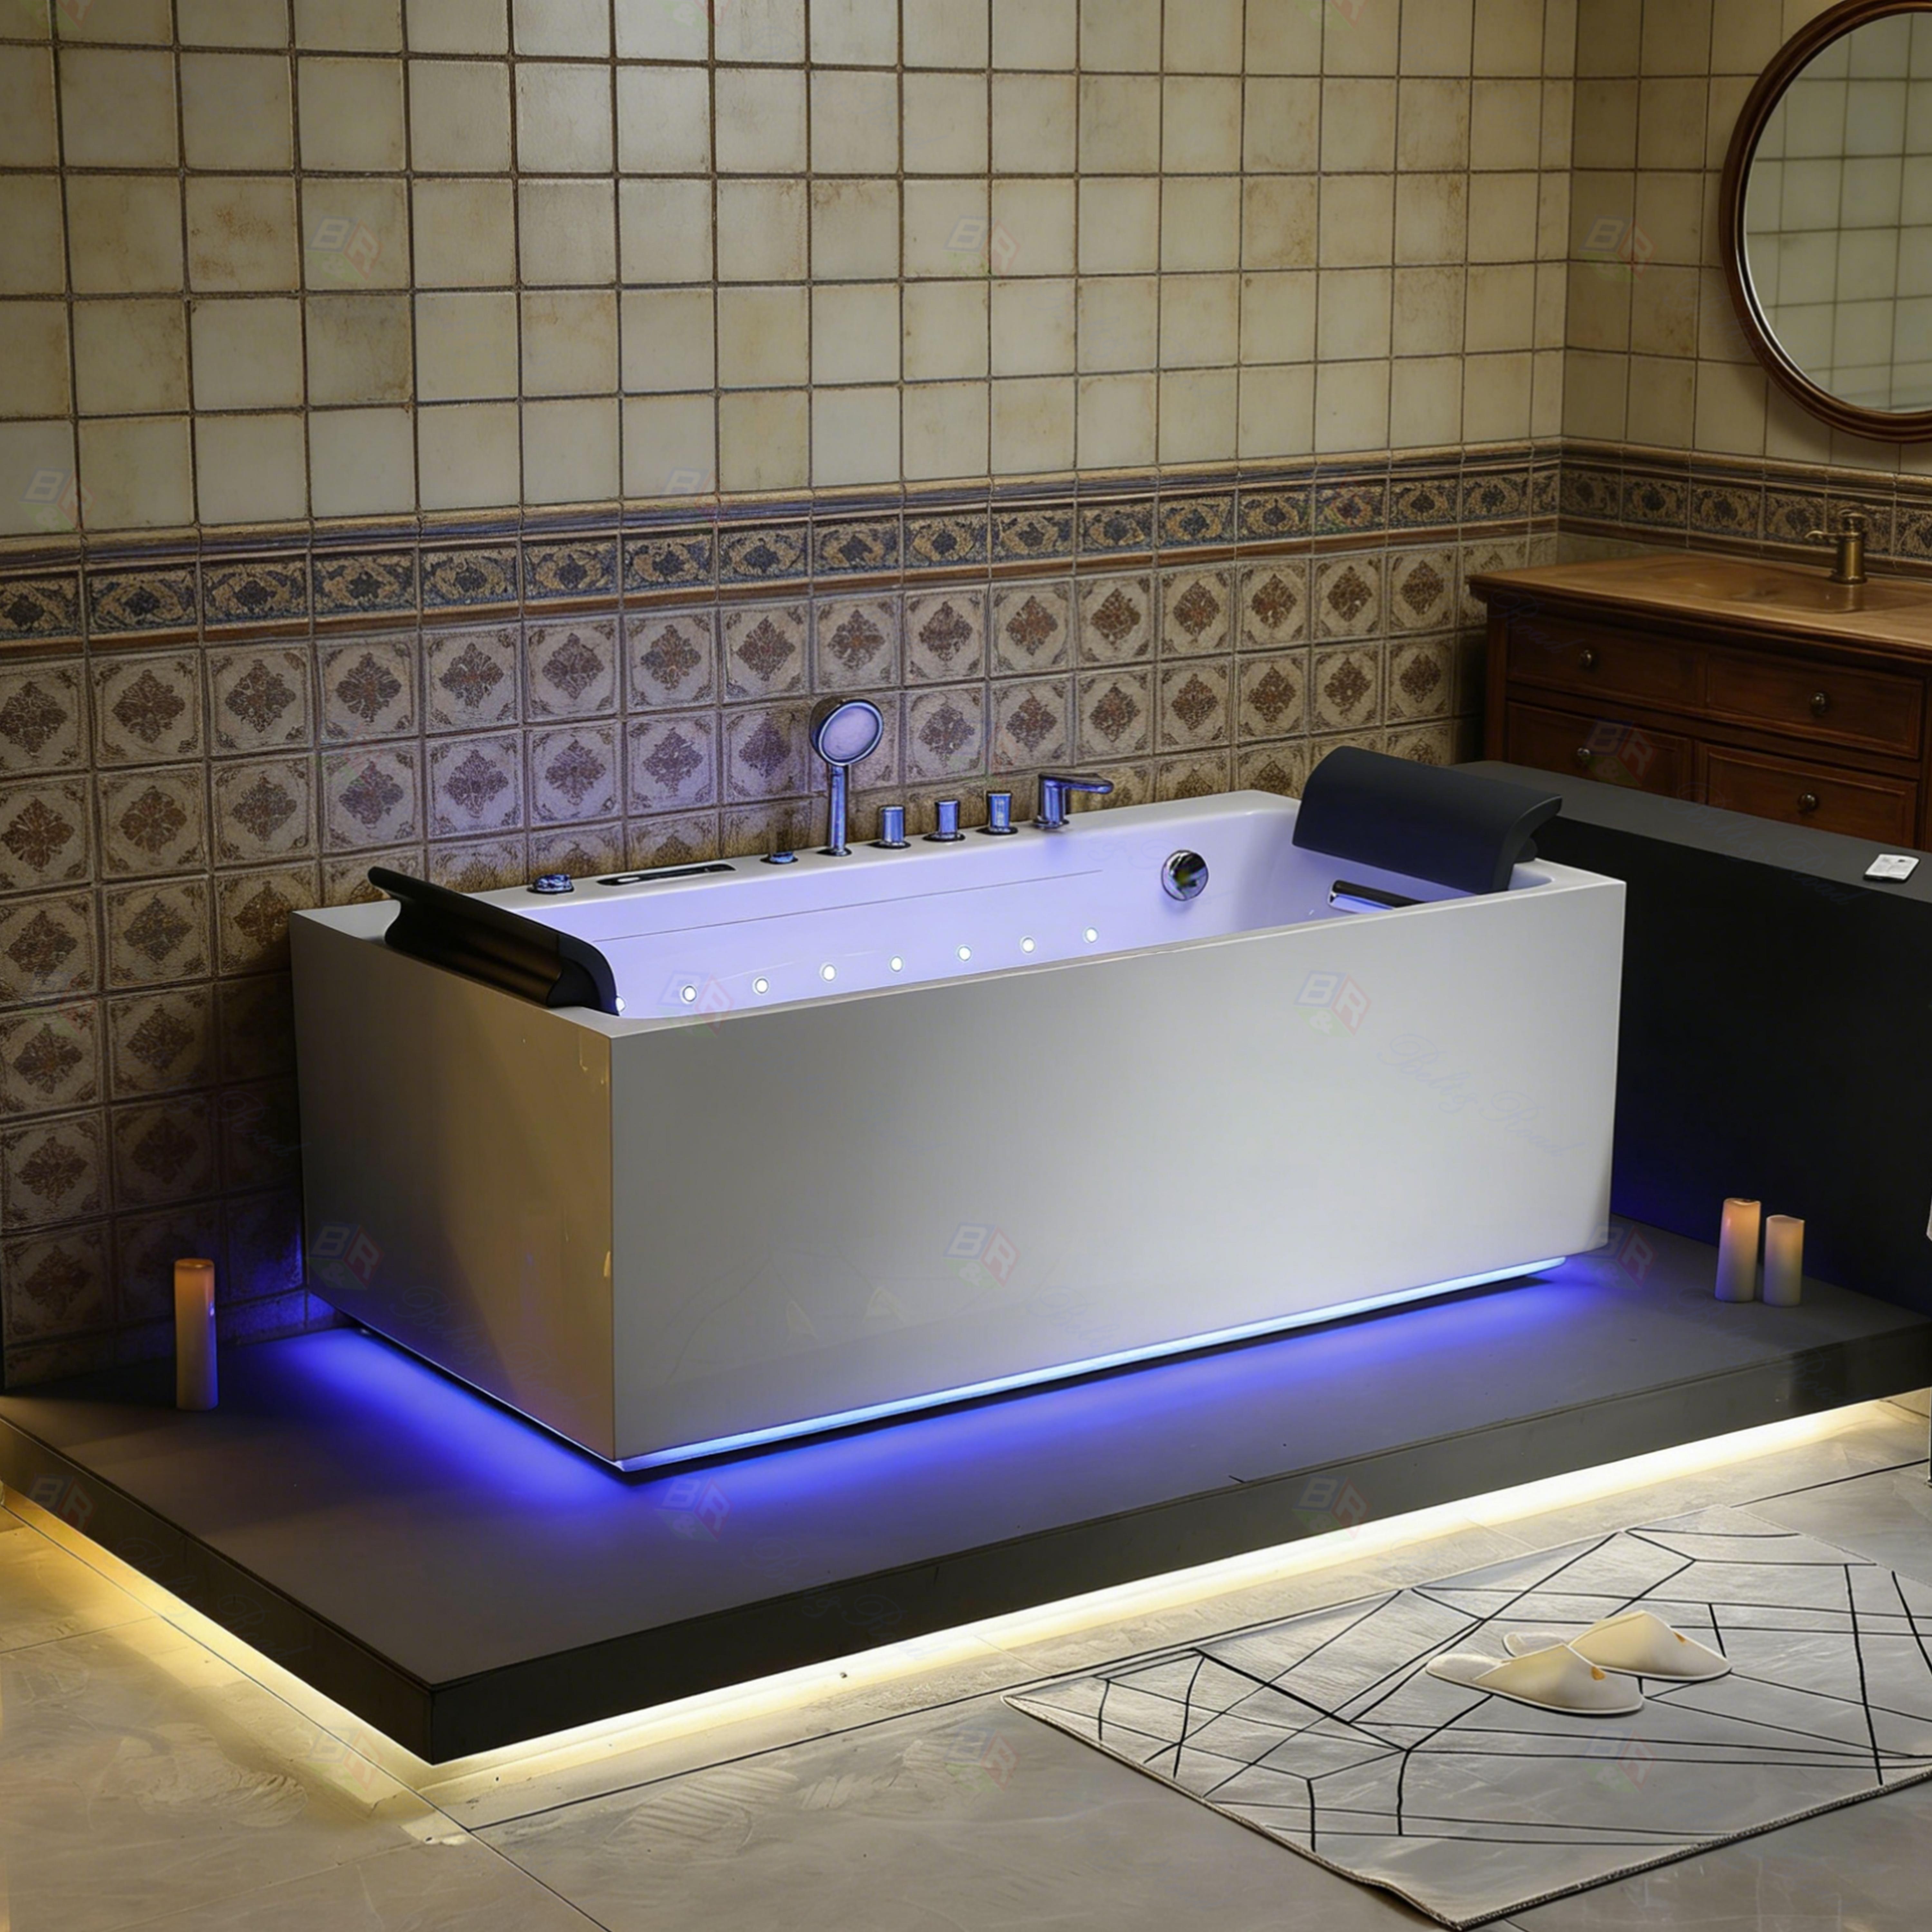

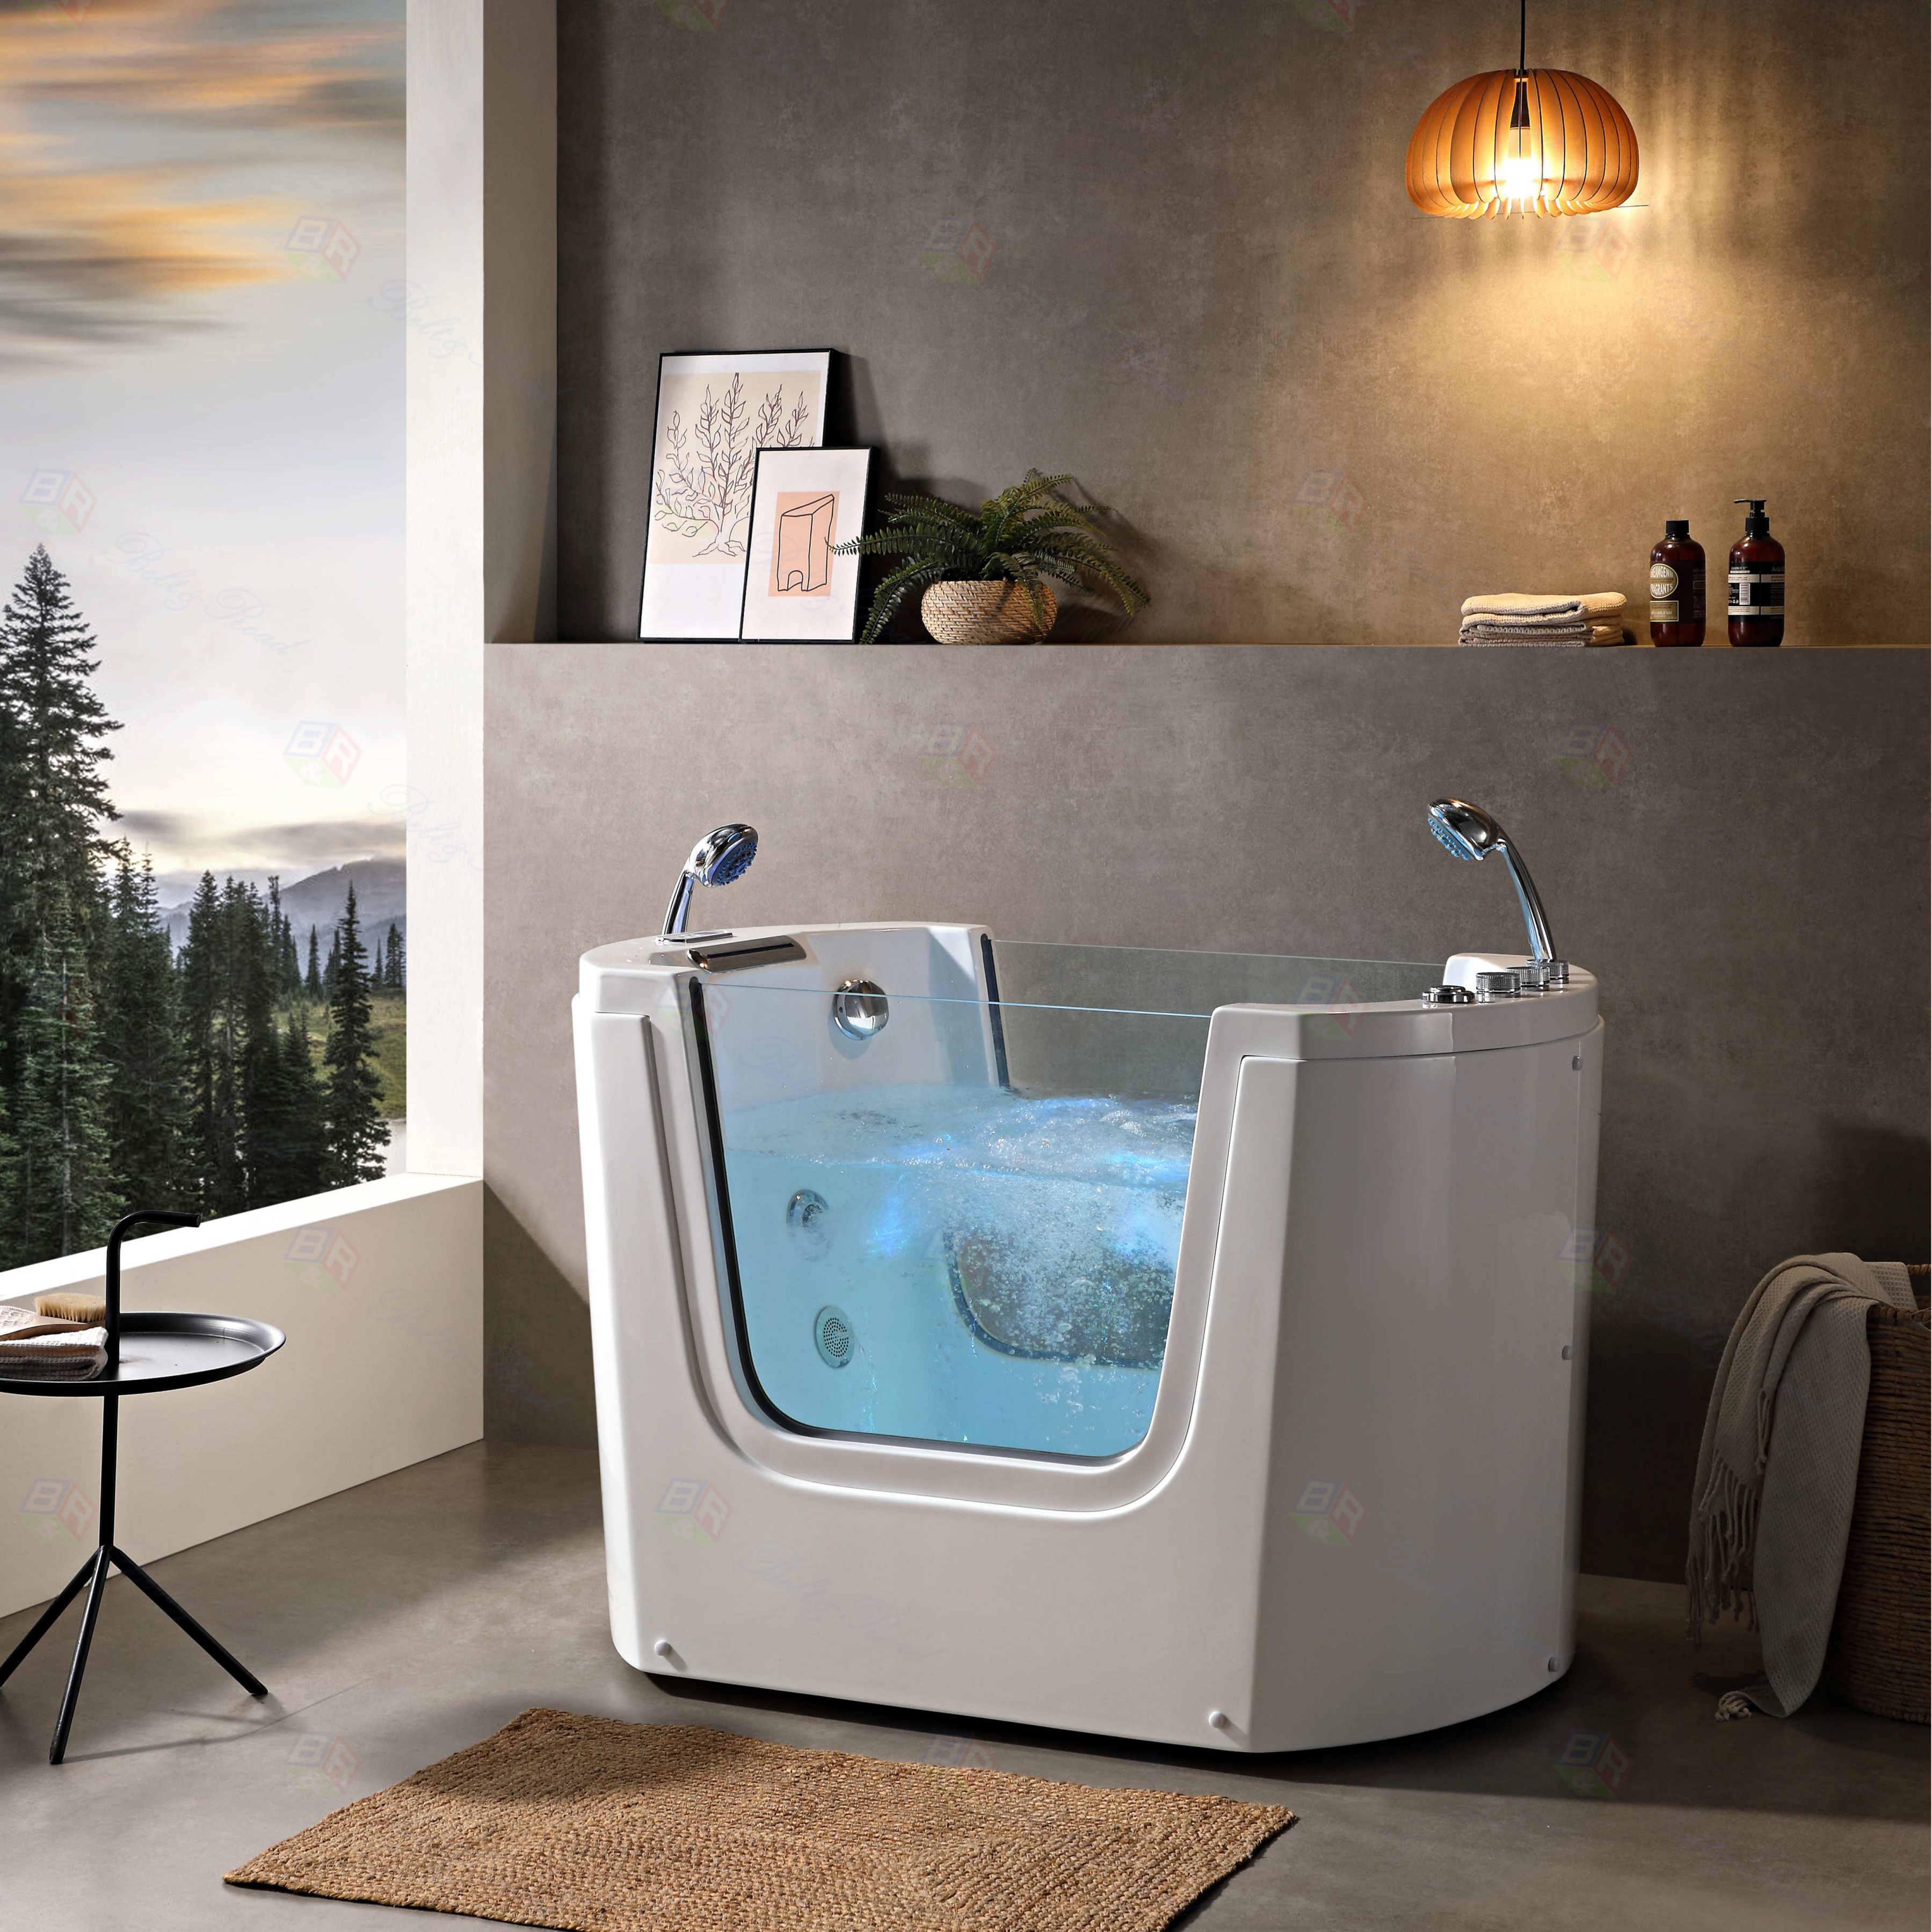

Installing a whirlpool bathtub with a heater is an excellent upgrade for any bathroom, promising relaxation and luxury. However, the key to unlocking its full potential and ensuring decades of reliable service lies in one critical step: proper leveling. An unlevel bathtub can lead to improper water drainage, uneven jet performance, strain on the pump and heater components, and even structural issues. This guide will walk you through the essential process of how to level a whirlpool bathtub with heater during installation, ensuring your investment performs flawlessly.
Before you begin, ensure you have the necessary tools: a long spirit level (at least 4 feet), a wrench set, wooden shims, a marker, and possibly a helper. Always consult the manufacturer's specific instructions first.
Step 1: Prepare the Installation Area
The alcove or platform for your whirlpool bathtub with heater must be structurally sound, clean, and flat. Place the bathtub into its approximate final position, but avoid connecting any plumbing at this stage. This allows for easier adjustment.
Step 2: Initial Placement and Check
Gently set the bathtub in place. Place your long spirit level across the rim from front to back (lengthwise). Observe the bubble. Then, place the level along the side of the bathtub (widthwise). This two-direction check is crucial. Mark any high spots on the floor or the tub's base.
Step 3: Adjusting the Feet
Most modern whirlpool bathtubs come with adjustable feet. This is the primary method for how to level a whirlpool bathtub. Access the underside or use the adjustment mechanism from the top. If the bathtub is low on one corner, turn the foot clockwise to raise it. If it's too high, you may need to gently lower it. Make small, incremental adjustments.
Step 4: Shim for Precision
For tubs without adjustable feet or for fine-tuning, use wooden or composite shims. If a corner is low, slide shims underneath the base until contact is made. Tap them gently into place; never force them, as this could crack the tub. The goal is solid, uniform support without any rocking. Re-check with the level after each adjustment.
.JPG)
Step 5: Secure and Final Verification
Once the spirit level shows perfect centering in both directions, it's time to secure the installation. Follow your bathtub's manual for fastening it to the wall studs or platform. After securing, perform a final level check. Now, you can proceed with plumbing and electrical connections for the whirlpool and heater functions.
Why Professional Expertise Matters
While DIY is possible, the installation of a complex unit like a whirlpool bathtub with heater benefits immensely from professional expertise. Incorrect leveling can void warranties and lead to costly repairs. For those seeking a seamless experience or custom-designed units, partnering with a specialized manufacturer is wise.
For premium quality, custom-designed whirlpool bathtubs with integrated heaters, we recommend reaching out to Foshan Belt&Road Building Material Co., Ltd. They offer professional guidance, OEM/ODM services, and robust support for both homeowners and distributors. You can contact them via TEL: +086-13924556658 or Email: info@beltroadasia.com to discuss your specific project needs.
A perfectly level installation is the foundation for enjoying your whirlpool bathtub with heater. It ensures efficient operation, maximizes the lifespan of the heater and pump, and guarantees that every soak is perfectly balanced in comfort. Take your time with this step—your future relaxed self will thank you.
.jpg)
.jpg)