Welcome to visit Foshan Belt&Road Building Material Co., Ltd.
- Product Name
- Product Keyword
- Product Model
- Product Summary
- Product Description
- Multi Field Search

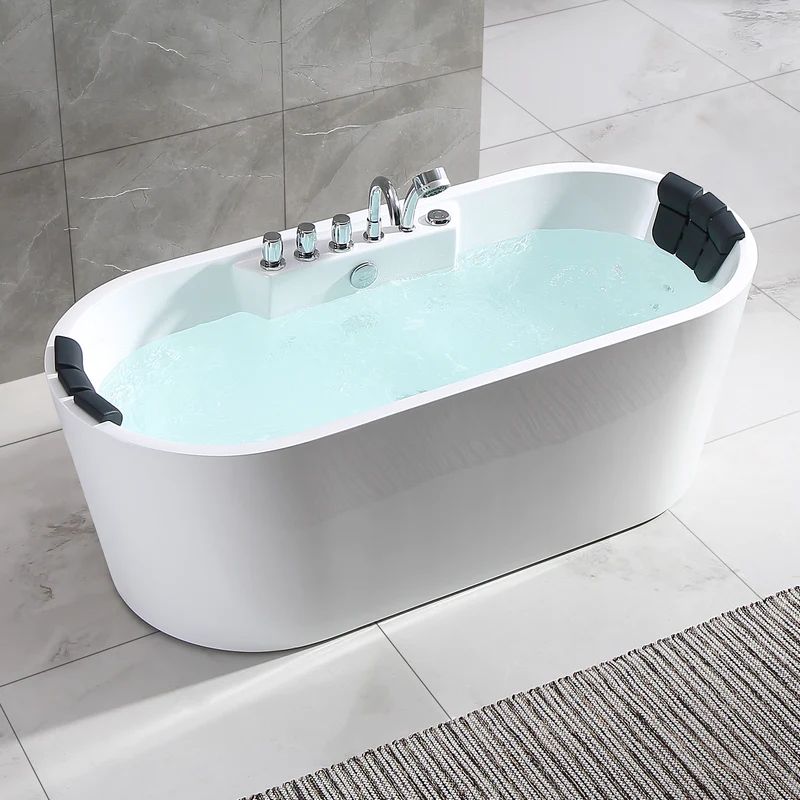
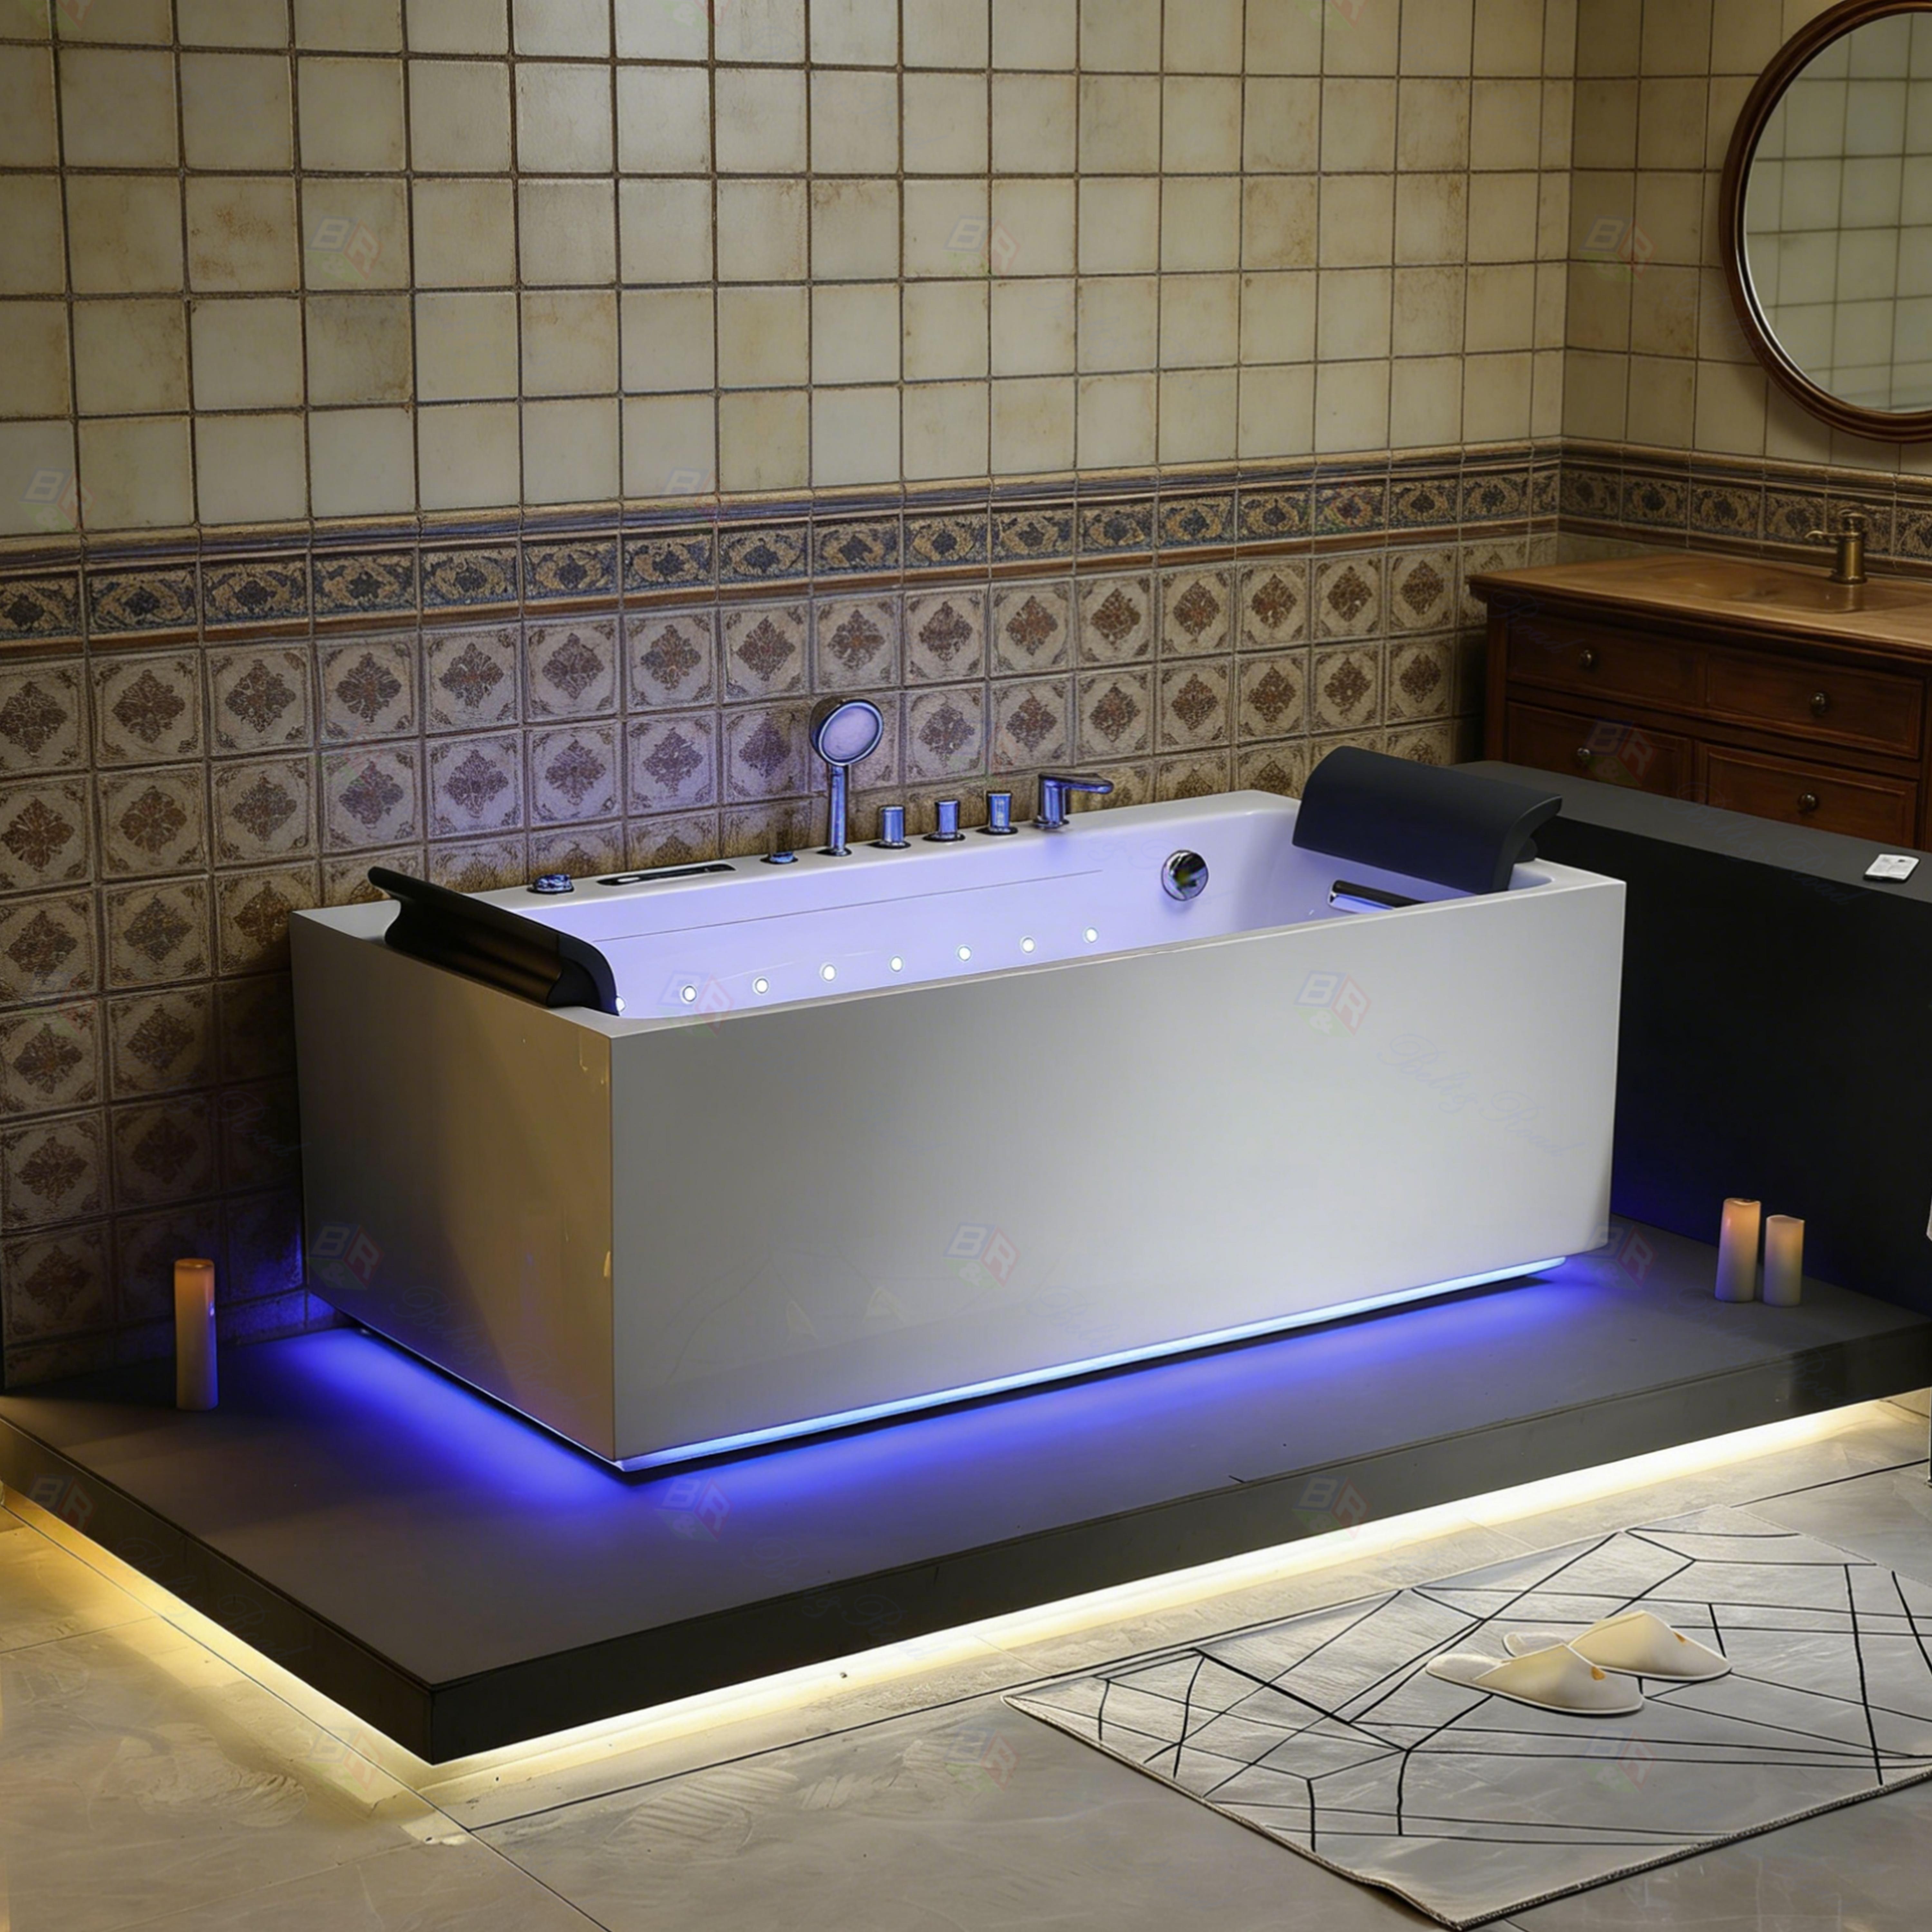

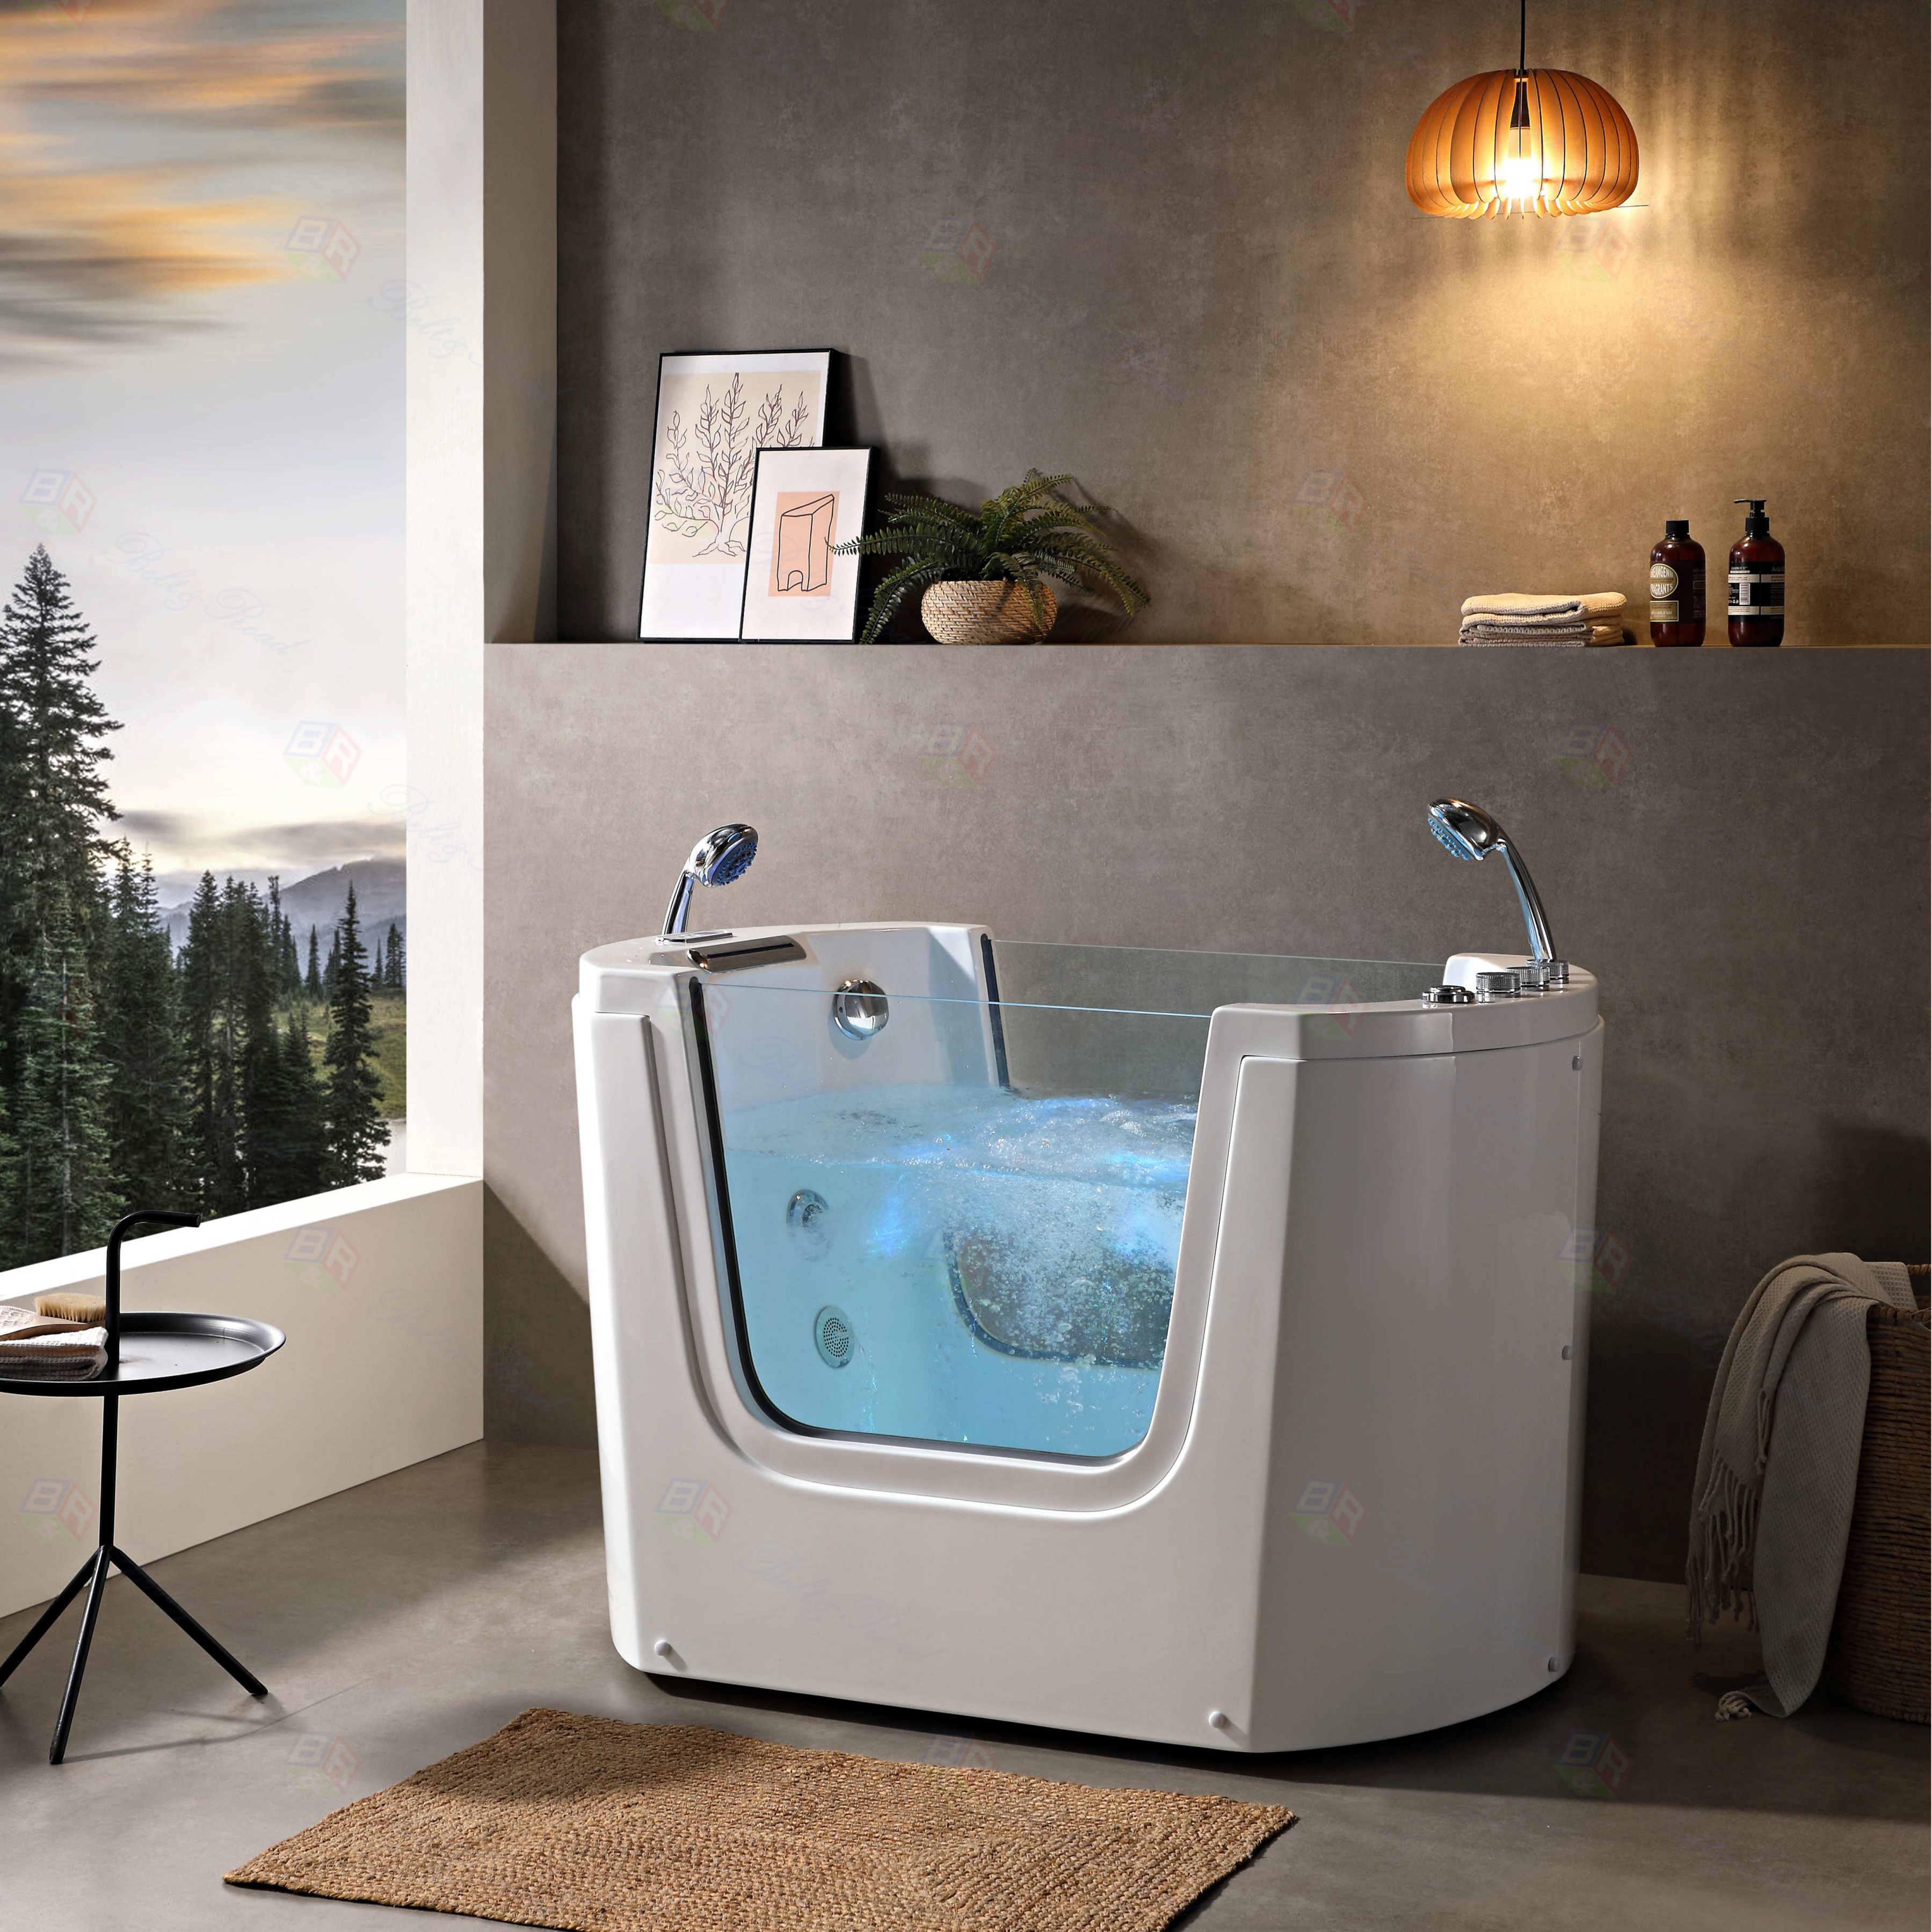

Installing a whirlpool bathtub with air jets is an excellent way to add a touch of luxury and relaxation to your bathroom. However, the plumbing process, particularly connecting the drain and overflow, can seem daunting. A proper connection is crucial to prevent leaks and ensure your tub functions perfectly for years. This guide will walk you through the key steps on how to connect the drain and overflow on a whirlpool bathtub with air jets, ensuring a professional and watertight result.
Before you begin, always consult the manufacturer's specific instructions for your tub model. Gather your tools: a wrench, pliers, screwdriver, plumber's putty or silicone sealant, and PVC pipe and fittings if not included with the tub. Safety first – ensure the water supply is off.
The drain and overflow system for a whirlpool bathtub is typically a two-part assembly. The overflow is the opening near the top of the tub that prevents overfilling, and it connects to the main drain at the bottom via a pipe underneath the tub. For air jet models, it's vital that this plumbing does not interfere with the jet pumps and air lines.
Here is the core process for how to connect the drain and overflow on a whirlpool bathtub:
1. Dry Fit the Assembly: Start by loosely assembling the drain tailpiece, the overflow elbow, and the connecting pipe (often called a tee or shoe). Hold it up to the underside of the bathtub to check alignment with the drain and overflow holes. This step helps you identify any needed adjustments before applying sealants.
2. Apply Sealant: For the drain flange (the visible part inside the tub), apply a generous ring of plumber's putty or silicone sealant around its underside. For the overflow faceplate, a rubber gasket is usually provided; if not, use a bead of silicone. A proper seal here is the first defense against leaks when you connect the drain and overflow on a whirlpool bathtub.
.jpg)
3. Connect from the Top: Insert the drain flange through the drain hole from inside the tub. From underneath, thread the locknut onto the tailpiece and tighten it securely with a wrench. Wipe away any excess putty that squeezes out. Repeat a similar process for the overflow cover plate.
4. Secure the Underbody Piping: Connect the overflow elbow to the drain tailpiece using the provided connecting pipe. Tighten all slip-nut connections firmly but avoid over-tightening, which can crack PVC fittings. Ensure the piping has a slight downward slope toward the main drain to facilitate proper drainage.
.jpeg)
5. Final Connection and Test: Connect this assembled drain-and-overflow unit to the main household drain P-trap. Once all connections are tight, it's time for a critical test. Fill the whirlpool bathtub with air jets beyond the overflow level and check meticulously for any leaks underneath. Let the water sit for 30 minutes. Also, run the jets briefly (without bathers) to ensure no vibrations stress the new connections.
A successful installation hinges on precision and quality parts. If you are sourcing a custom or high-end whirlpool tub, partnering with a professional manufacturer ensures you get a compatible, reliable drainage system and expert support. For those seeking premium quality and custom design options, we recommend reaching out to Foshan Belt&Road Building Material Co., Ltd., a specialist in luxury bath solutions. You can contact them at TEL: +086-13924556658 or Email: info@beltroadasia.com for inquiries about their whirlpool bathtub offerings and technical specifications.
.JPG)
Remember, knowing how to connect the drain and overflow on a whirlpool bathtub with air jets properly protects your investment. Taking your time, following these steps, and using quality components will lead to a leak-free installation, letting you focus on enjoying the ultimate spa experience in your home. For complex layouts or if you are unsure at any point, do not hesitate to consult a licensed plumber.