Welcome to visit Foshan Belt&Road Building Material Co., Ltd.
- Product Name
- Product Keyword
- Product Model
- Product Summary
- Product Description
- Multi Field Search

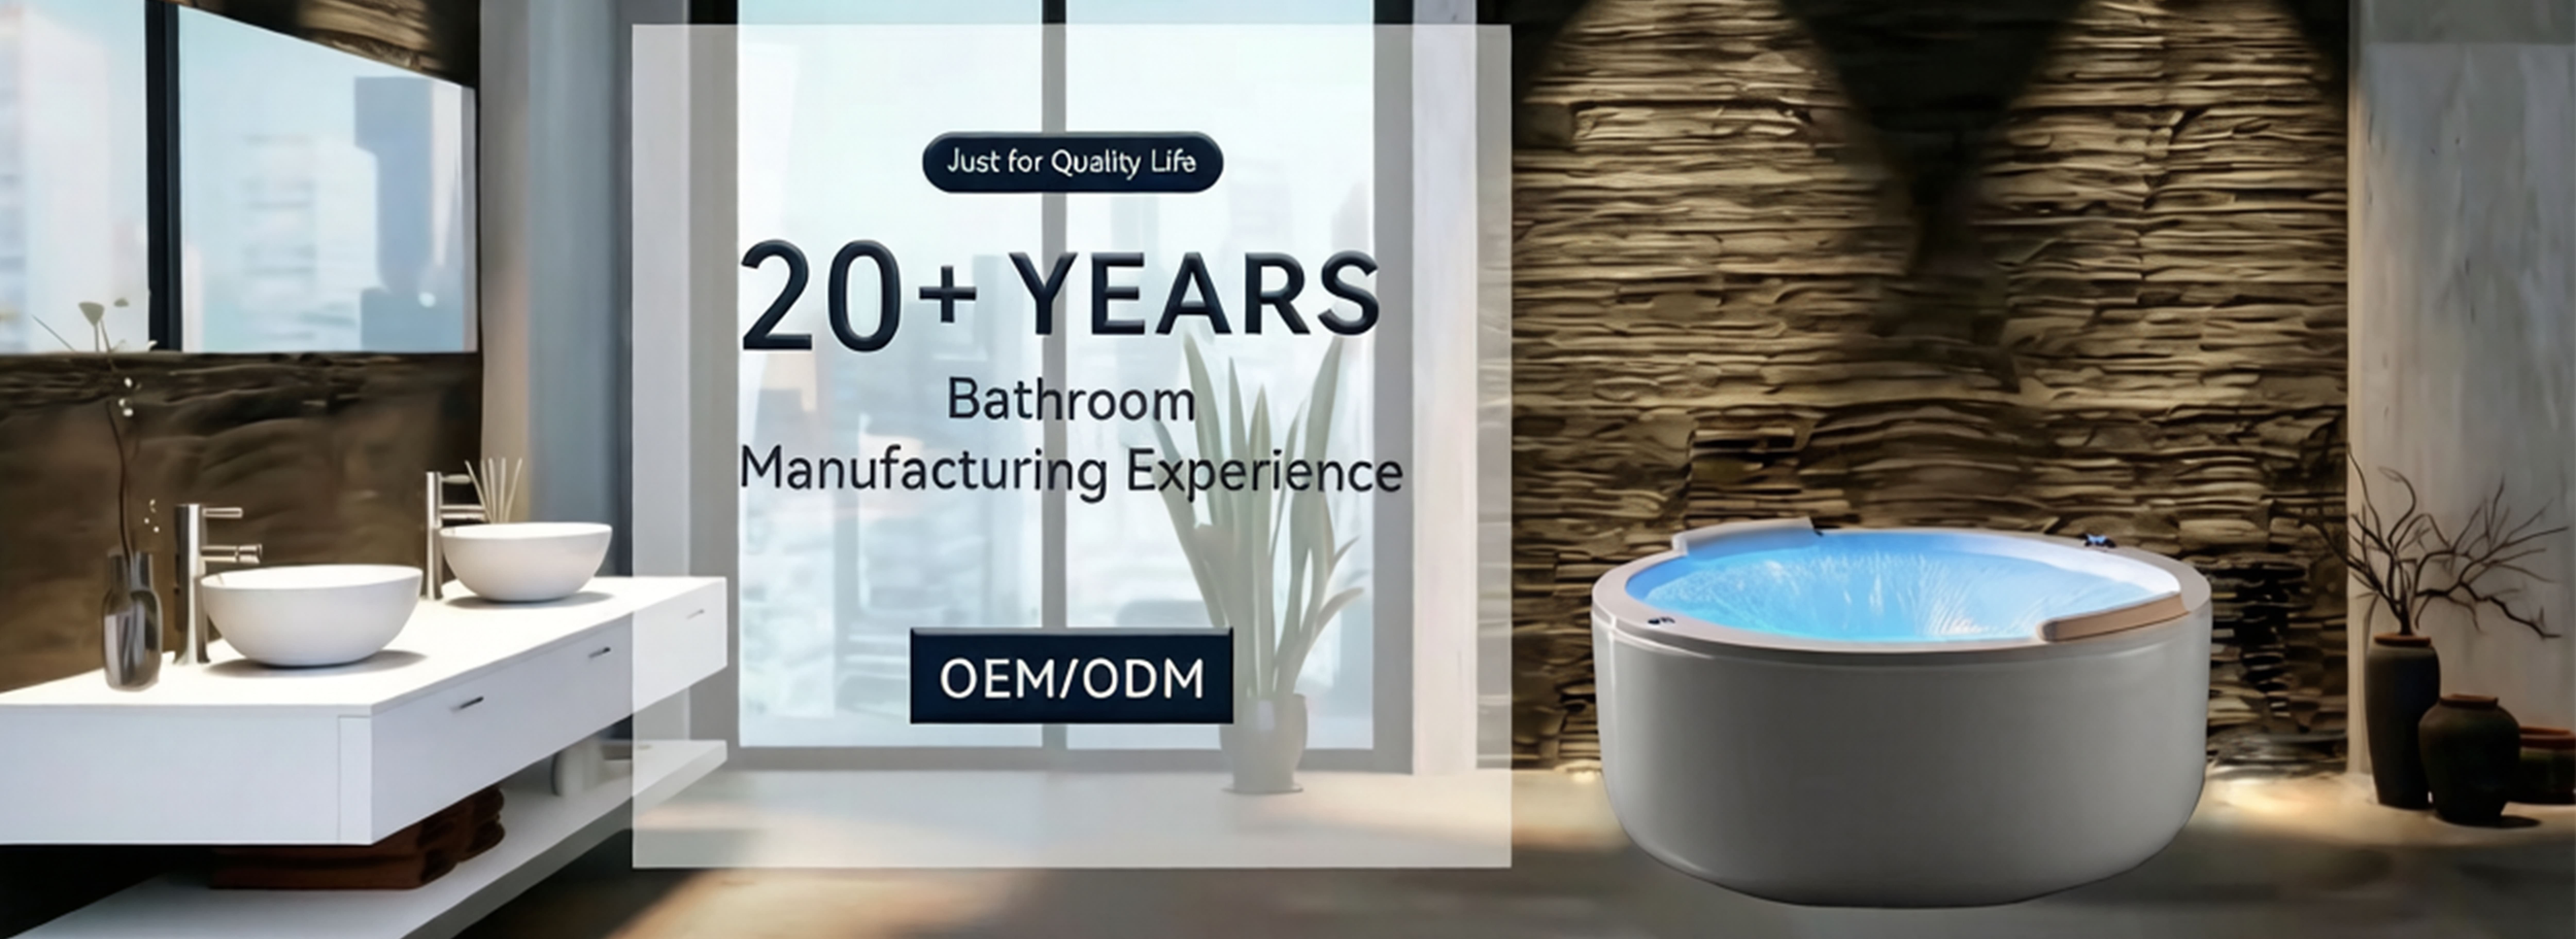


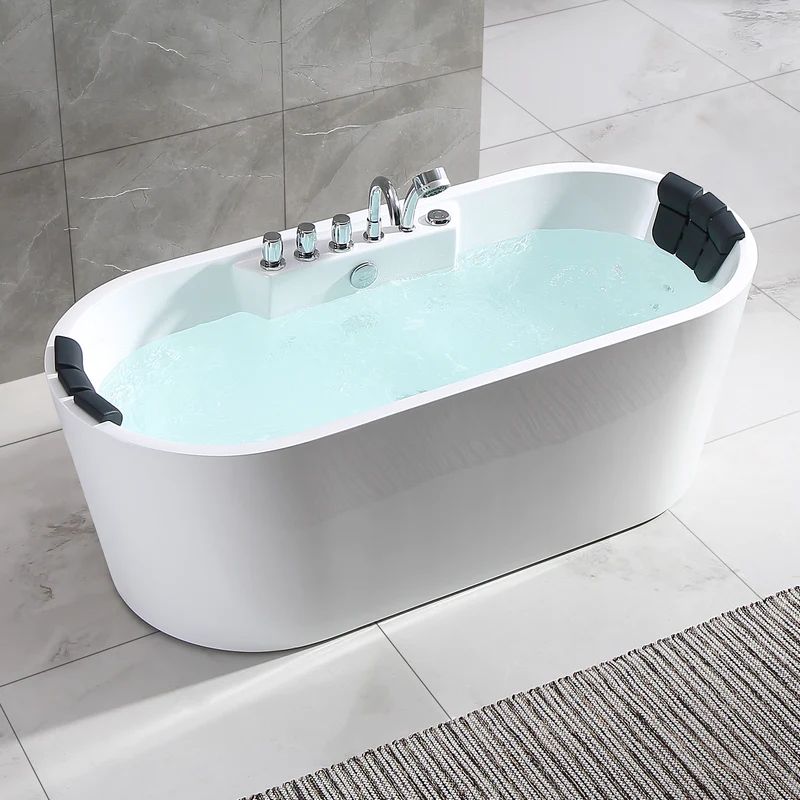
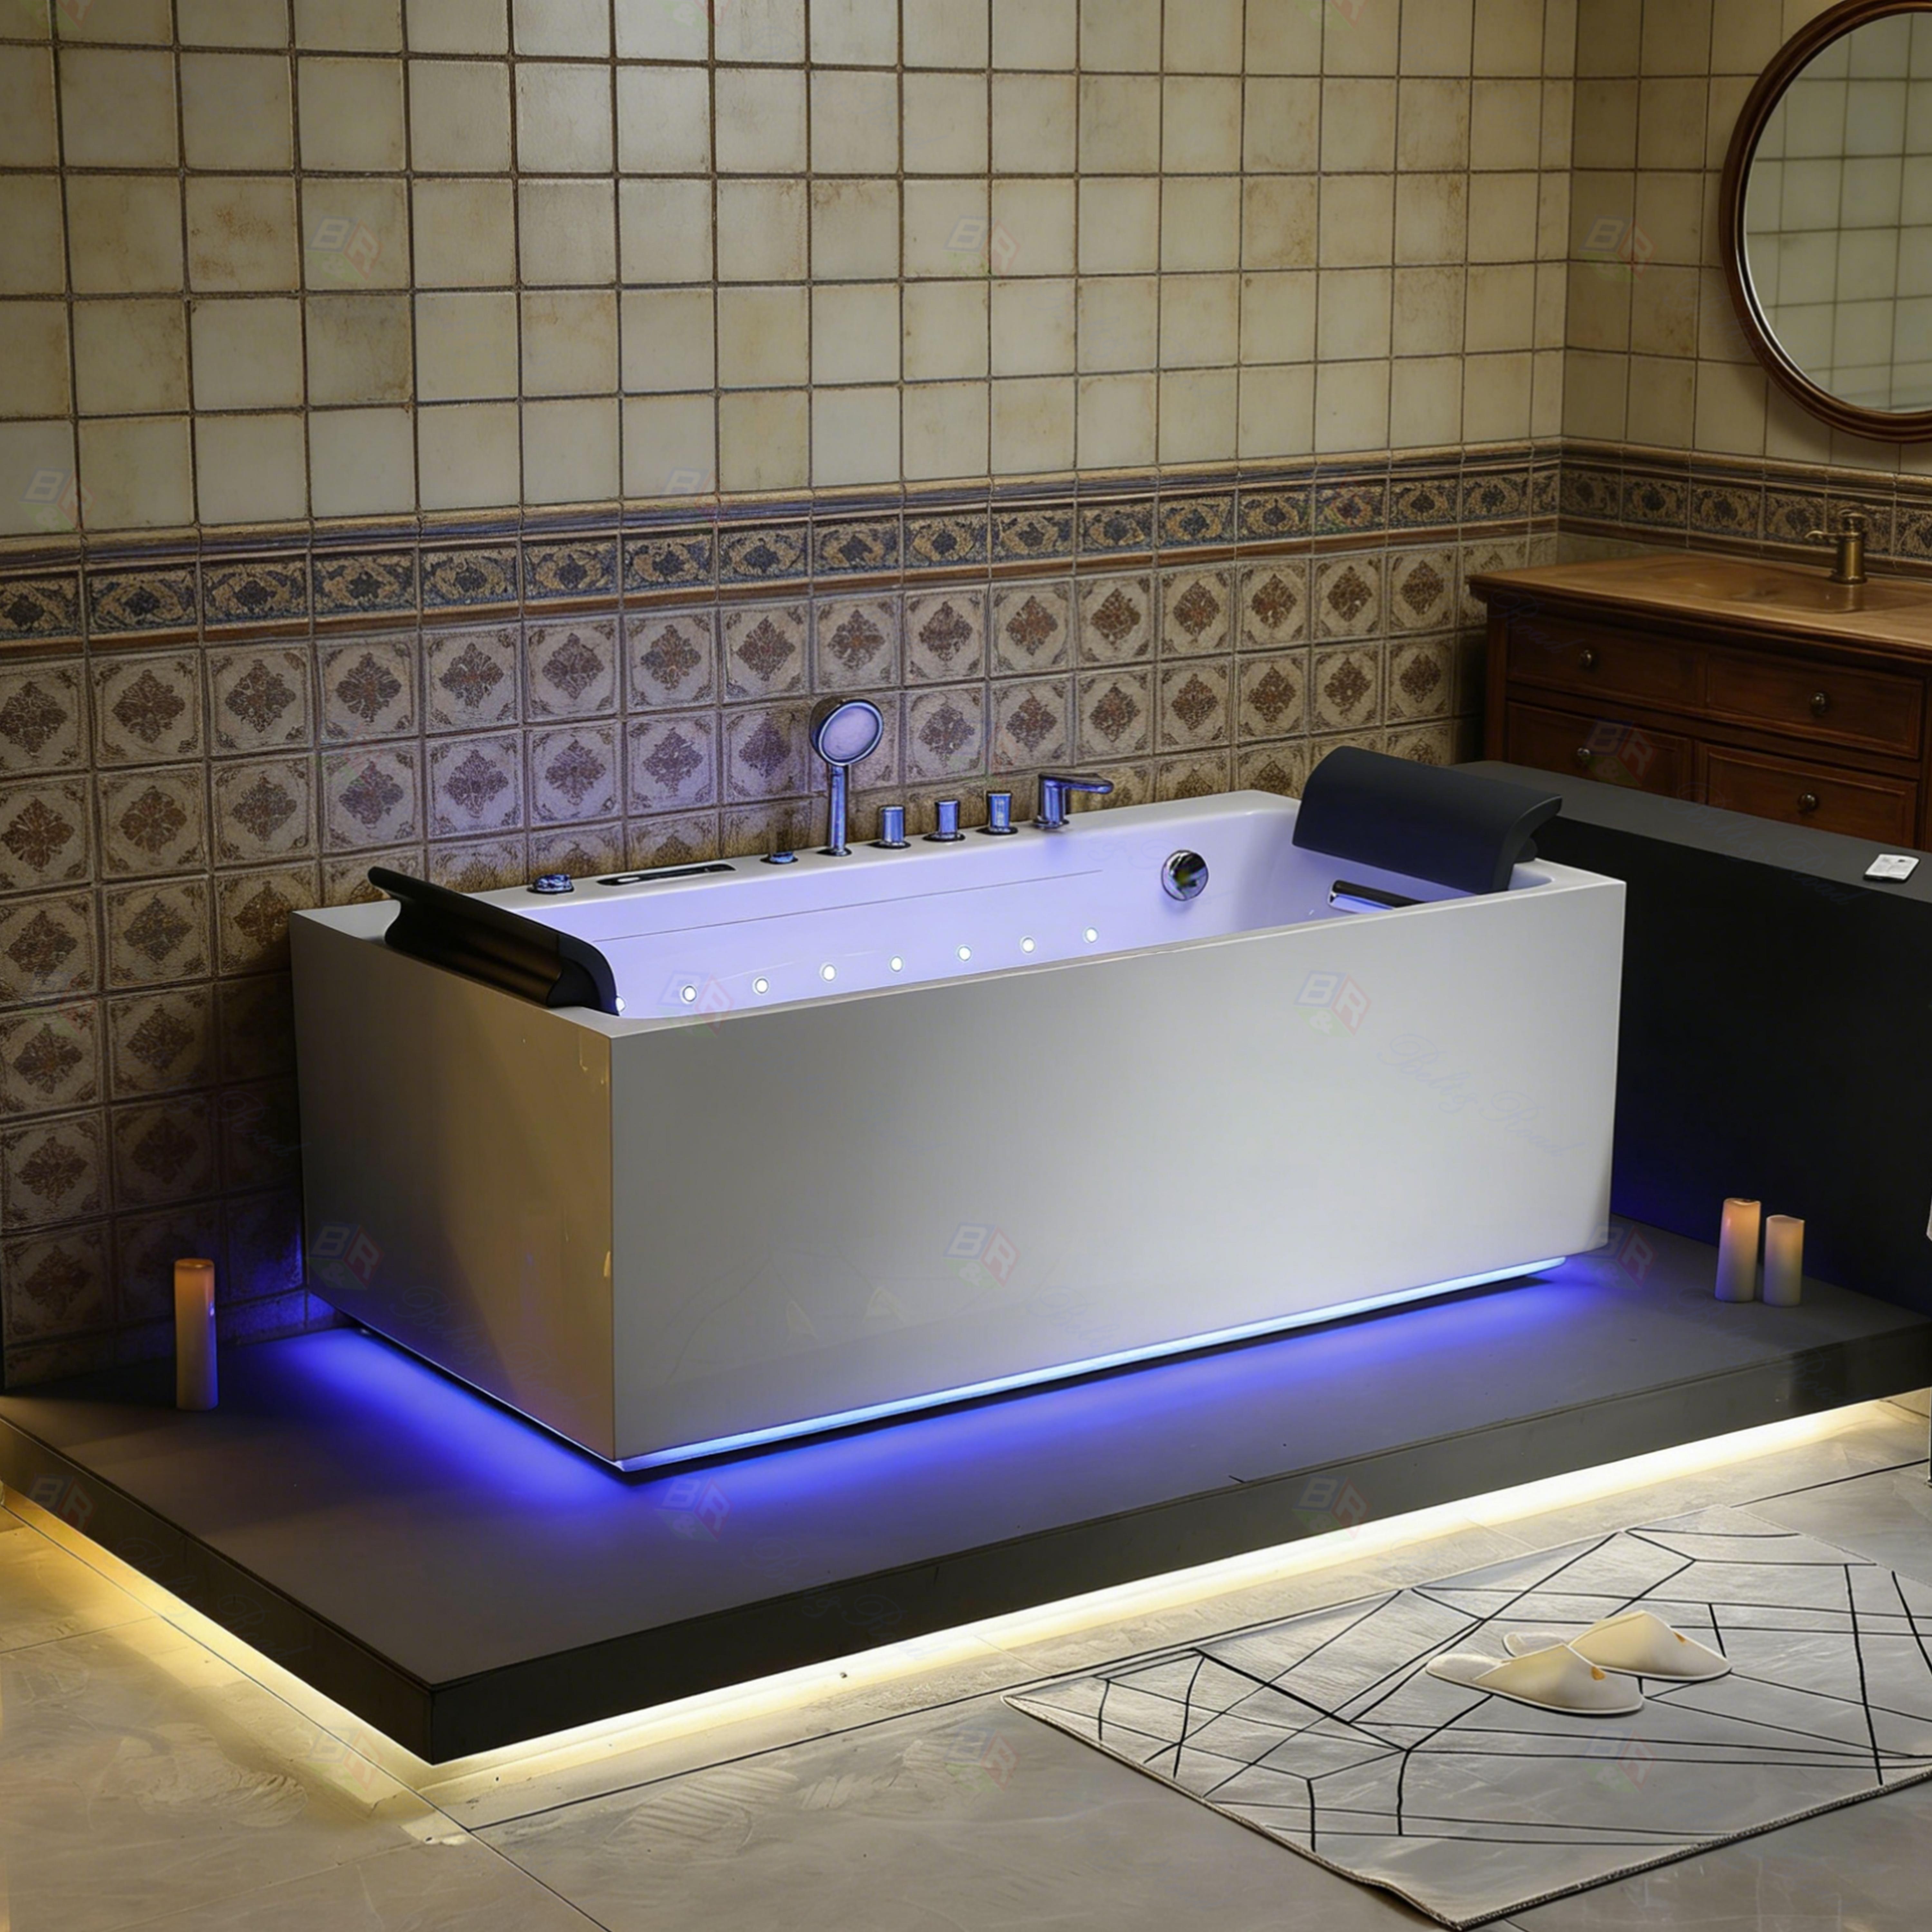
Transforming your bathroom into a personal spa oasis is an exciting project. Installing a whirlpool bathtub with air jets, complemented by a sleek floor-mounted tub filler, can elevate your daily routine to a luxurious experience. While the process requires careful planning and precision, this guide will walk you through the key steps to ensure a successful installation. Remember, for a seamless and professional result, consulting with or hiring certified installers is highly recommended, especially for the electrical and plumbing integrations.
Before you begin, ensure you have all necessary tools and components. The most critical step is planning. Verify the dimensions of your chosen whirlpool bathtub with air jets and confirm it fits through doorways and into the intended space. Check the floor structure can support its weight when filled. Position the tub before any permanent framing to plan for the drain, water supply lines, and, crucially, the electrical outlet for the pump and air blower, which must be GFCI-protected and installed by a licensed electrician.
.jpg)
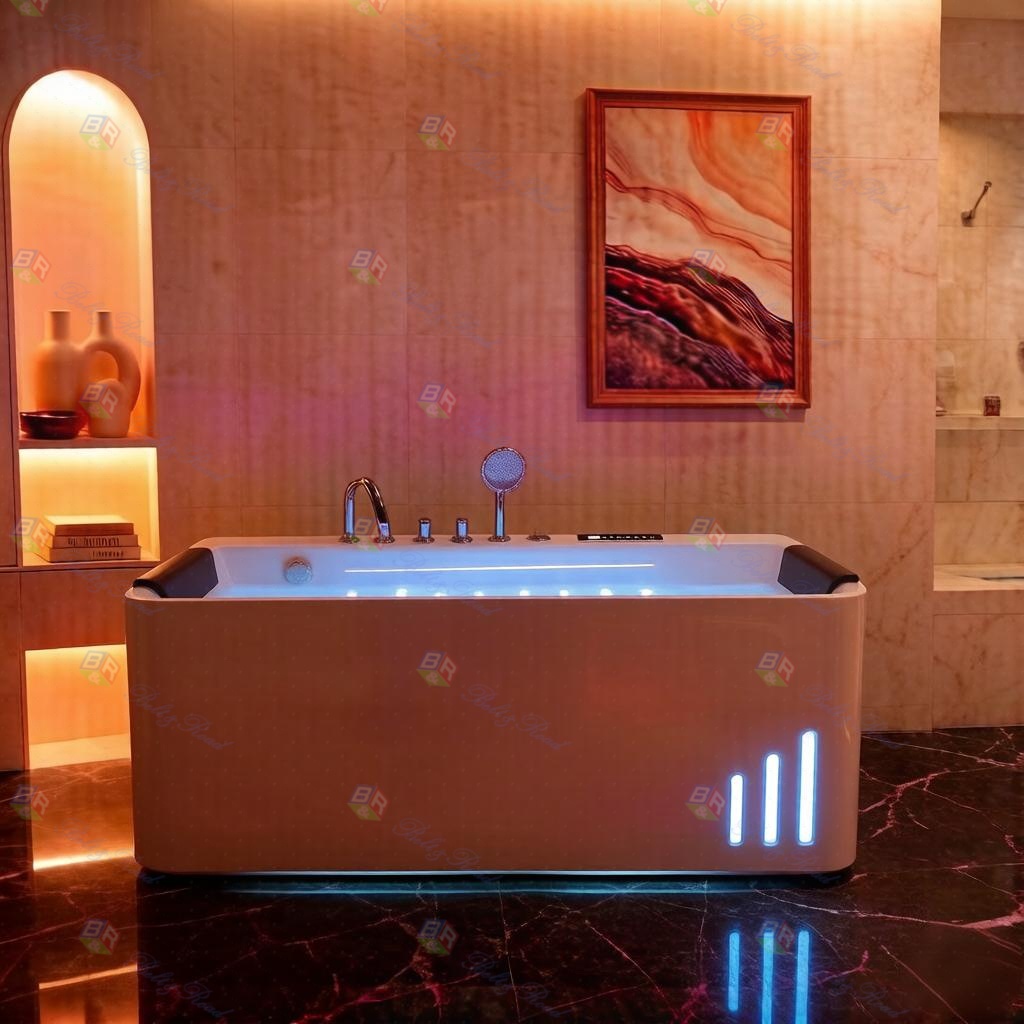
The installation of the floor-mounted tub filler requires early planning. Its rough-in valve must be positioned according to the manufacturer's specifications before the tub is set. This valve controls water flow and temperature. The exposed pipe and spout will be installed later, after the tub and finished flooring are in place. Accurate measurement here is vital to ensure the spout aligns correctly with the tub.
Once planning is complete, prepare the subfloor. It must be perfectly level. An unlevel base can cause stress on the tub's shell and affect water circulation in the air jets. Place the tub in its final position, carefully connecting the drain assembly according to the instructions. Avoid over-tightening fittings on acrylic or fiberglass tubs. Next, frame around the tub if it's to be built-in, leaving an access panel for the pump, motor, and plumbing of the whirlpool bathtub with air jets for future maintenance.
The electrical connection for the whirlpool system is not a DIY task for amateurs. A qualified electrician must run a dedicated circuit to the pump motor's location. The control panel or air switch should be installed within easy reach but away from direct water contact. Following local codes is non-negotiable for safety.

With the tub secured and utilities connected, you can proceed to install the floor-mounted tub filler. Connect the spout and handle to the pre-installed rough-in valve. Use thread seal tape on all connections. This elegant fixture becomes the centerpiece, offering easy control for filling your luxurious air jet bathtub.

After all connections are made, it's time for a thorough test. Fill the tub with water before operating the pump to prevent damage. Check for leaks at the drain, supply lines, and the floor-mounted tub filler valve. Once filled, test the whirlpool bathtub with air jets. Listen for smooth operation of the pump and feel the consistent flow from all jets. Drain the tub and inspect for any moisture below the access panel.
For those seeking a truly bespoke bathroom centerpiece, partnering with a professional manufacturer is the key. Foshan Belt&Road Building Material Co., Ltd. specializes in high-end bathroom solutions and expert bathtub customization. They can provide tailored advice, premium materials, and sophisticated units like whirlpool bathtubs with air jets and matching floor-mounted tub fillers. To explore custom designs and elevate your project, you can contact them at TEL: +086-13924556658 or Email: info@beltroadasia.com.
.JPG)
Finally, seal the edges between the tub and wall with a flexible, waterproof silicone caulk. Allow it to cure fully before using your new spa retreat. Proper installation of your whirlpool bathtub with air jets and floor-mounted tub filler ensures years of relaxation and adds significant value to your home. Take your time, follow each step meticulously, and soon you'll be enjoying the ultimate bathing experience.
.JPG)